Nurturing a Holistic Relationship with Food : From One Mamma to Another

Hear it from the Mammas!

Hi Janani, thanks for being back to share another story on the blog. Last time was about baby swimming. This time let’s talk about food.

I am happy to be back on Srishti to share yet another story as a mother. Although food and food making are given a lot of importance in our (Indian) culture, I grew up eating food for the sake of it. It was an imposed activity which I never really enjoyed, until I met my husband, Abhinav. He is a food enthusiast and appreciates any food offered to him and this entirely changed my relationship with food. I realised that the food that we eat not only decides our physical health but also the very way we feel and experience life. Therefore, as a mother, it was vital for me to enable my daughter, Agni, to have a positive relationship with food right from the beginning.

When did you start introducing other foods to your daughter and how did you go about this?

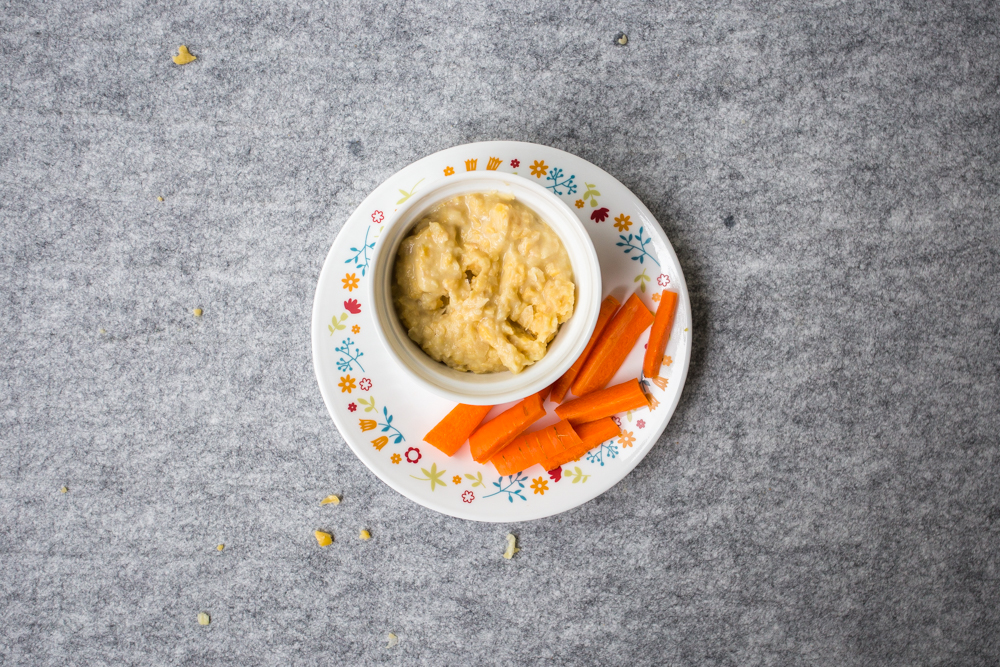
When A was about 3-4 months old, just like every other baby, she used to put things in her mouth to explore the environment through her senses. I consider this ‘mouthing’ to also be a natural instinct for babies to explore foods. I initially introduced food by giving her whole carrots, lemons, apples, coriander etc., to play with. From 5 months onwards, she was let to feed herself when she was hungry. She was made to sit on a highchair and was offered finger foods that included a mix of soft-textured fruits, veggies, and some cooked grains. As she grew older, I introduced foods with harder textures, and mixed ingredients. By 8-10 months, her chewing skills, dexterity, hand-eye coordination and even sorting skills (she used to sort a mixed platter of fruits by colour, shape, type) had improved tremendously. This whole process allowed her to be ‘in-charge’ of when, what, and how much she wanted to eat.

Can you describe Agni’s eating area?

We are a small family of three – Agni, my husband and myself living in Germany. When we are at home, we prefer to eat together as a family sitting at the dining table. Agni used to sit on a highchair until 1.5 years, but then shifted to a normal chair with a booster seat that helps her to independently climb up and climb down from it. While we eat, we appreciate the different tastes, and discuss our day’s activities. It is important for us that there is no other parallel activity happening while we are eating. This focus helps Agni to appreciate, enjoy, and be grateful for the food she eats.

How open is she to trying different foods?

Right from the beginning, Agni loved to explore different tastes. I could say, mealtimes are the ‘high points’ in her day. She looks forward to eating every meal with so much joy and excitement. She is always curious and ready to try out new tastes.

How do you and your husband support your daughter’s approach to food?

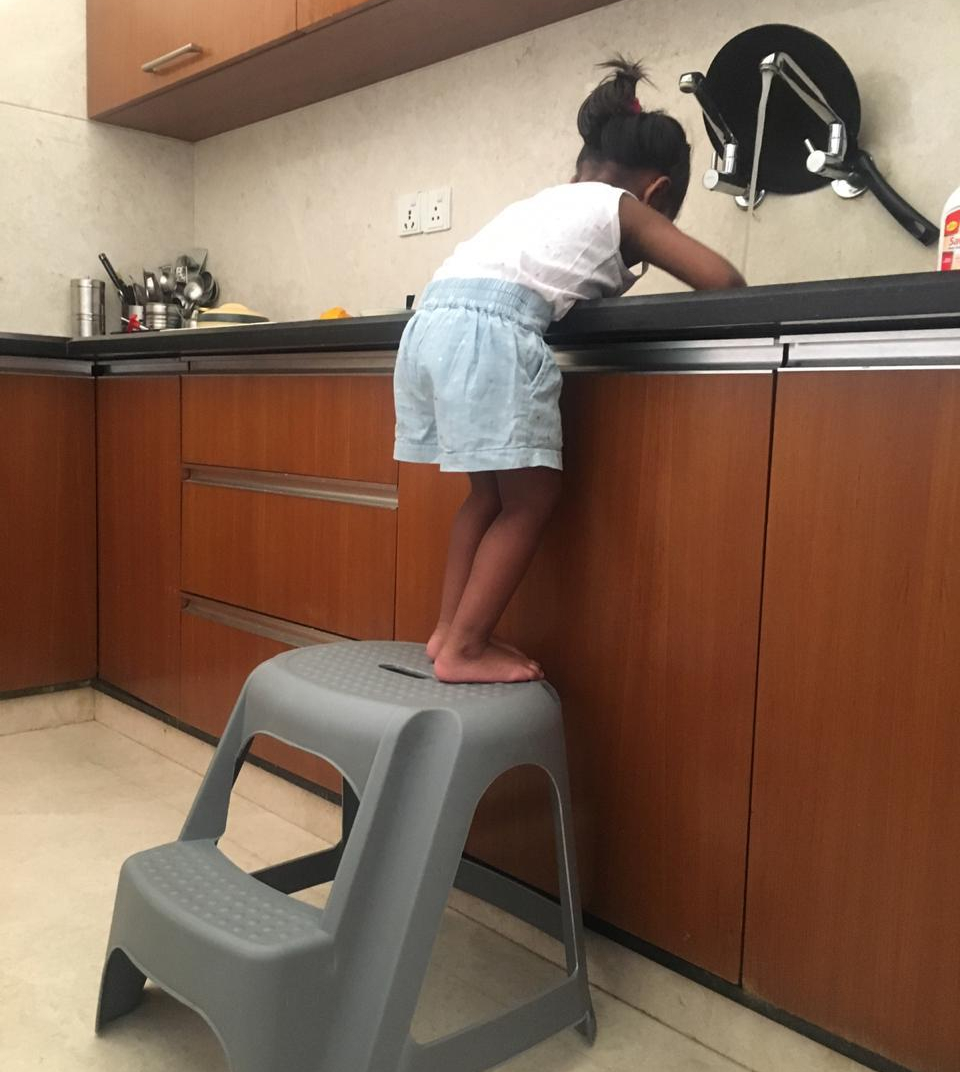
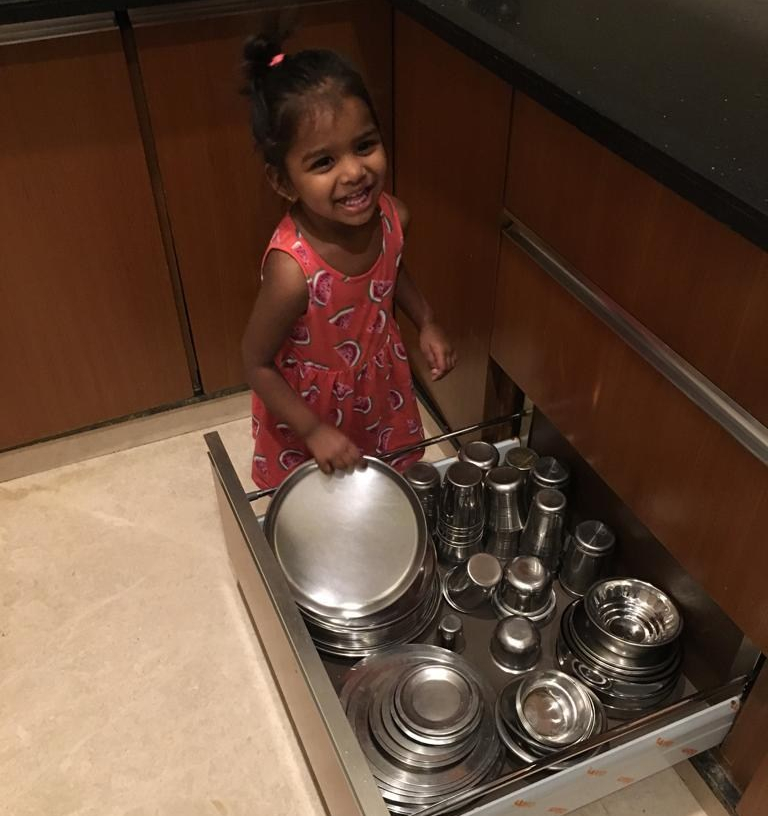
We support Agni’s approach to food by enabling independence. We introduced her to a spoon by 15 months, and a fork and knife by 18 months. We keep some healthy snacks and fruits that are easily accessible to her throughout the day that allows her to eat something in case she gets hungry. Just like how she is in-charge of eating the food, we also encourage her to be part of the clean-up in whatever way she can. Overall, the whole process over the last 2 years has required tremendous patience from our side especially because – as a baby, it used to be extremely messy when she ate, involving an elaborate clean-up after every meal. But all this effort has been totally worth it.

Does your daughter participate in preparation of food?

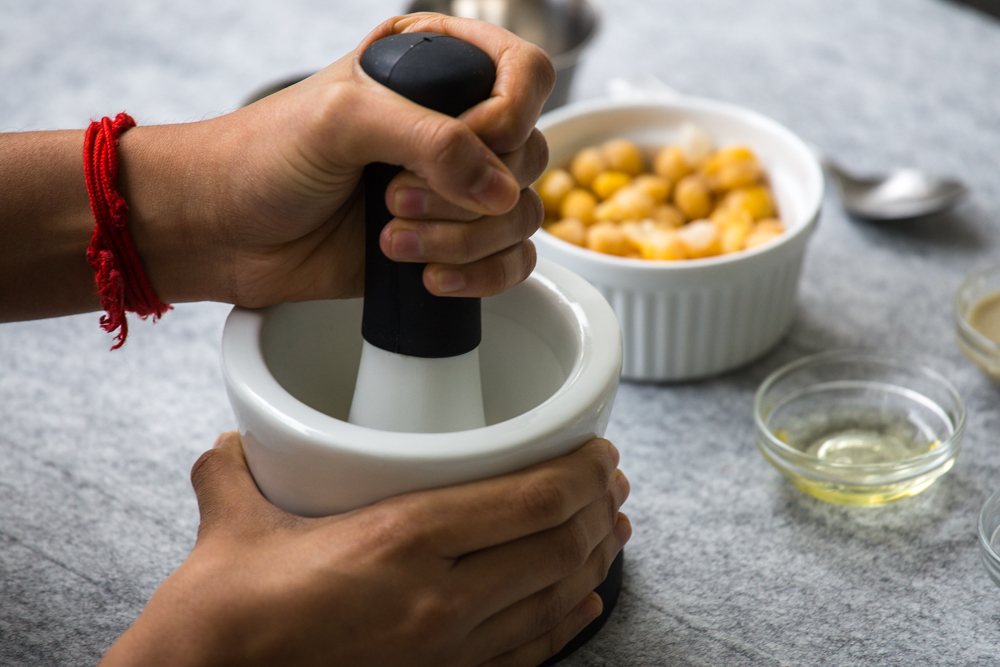
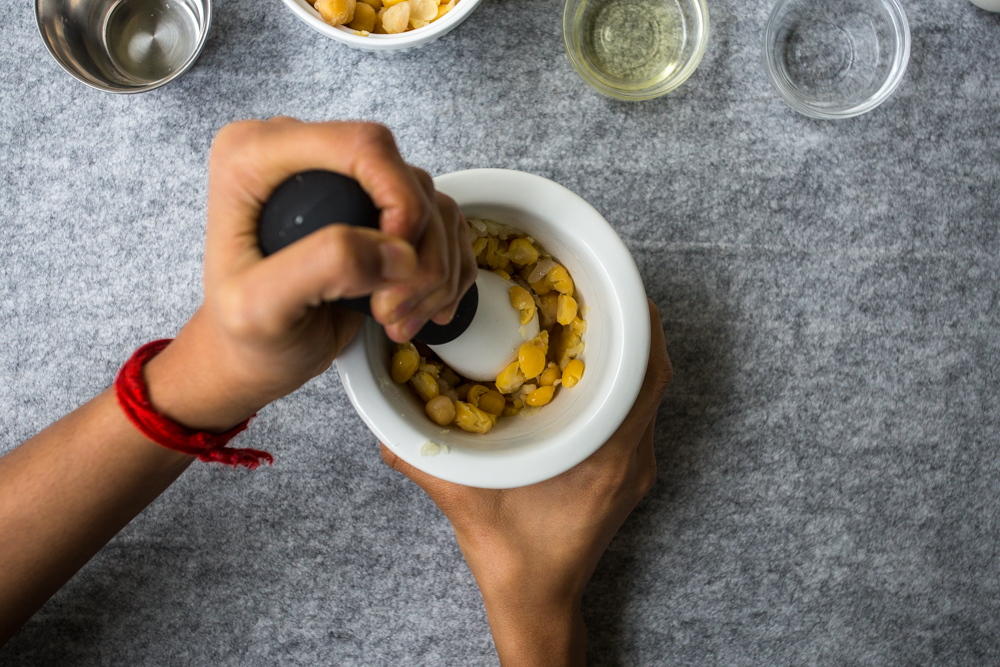
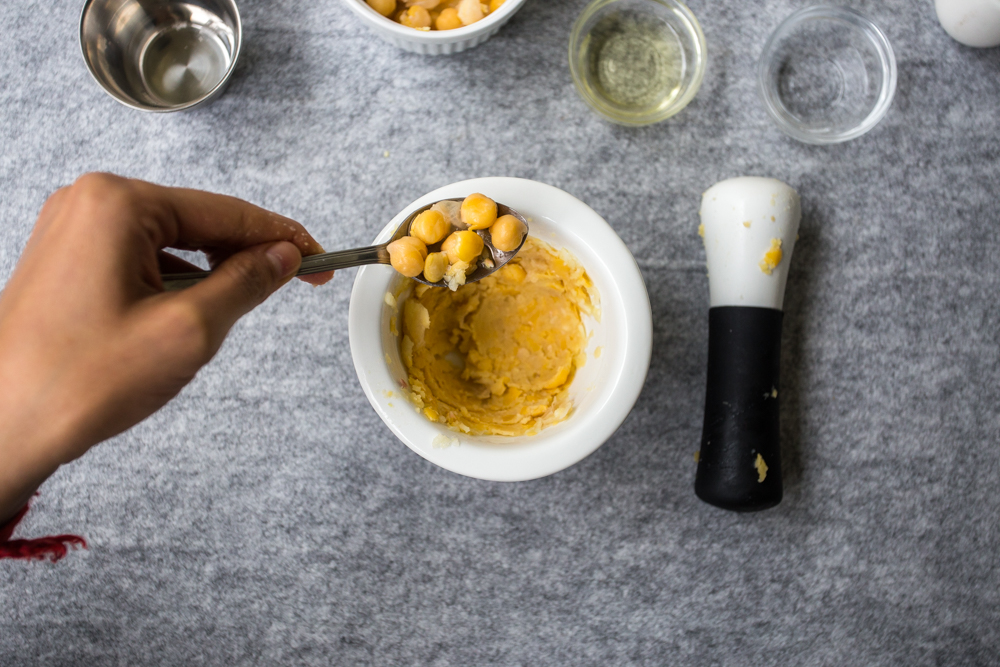
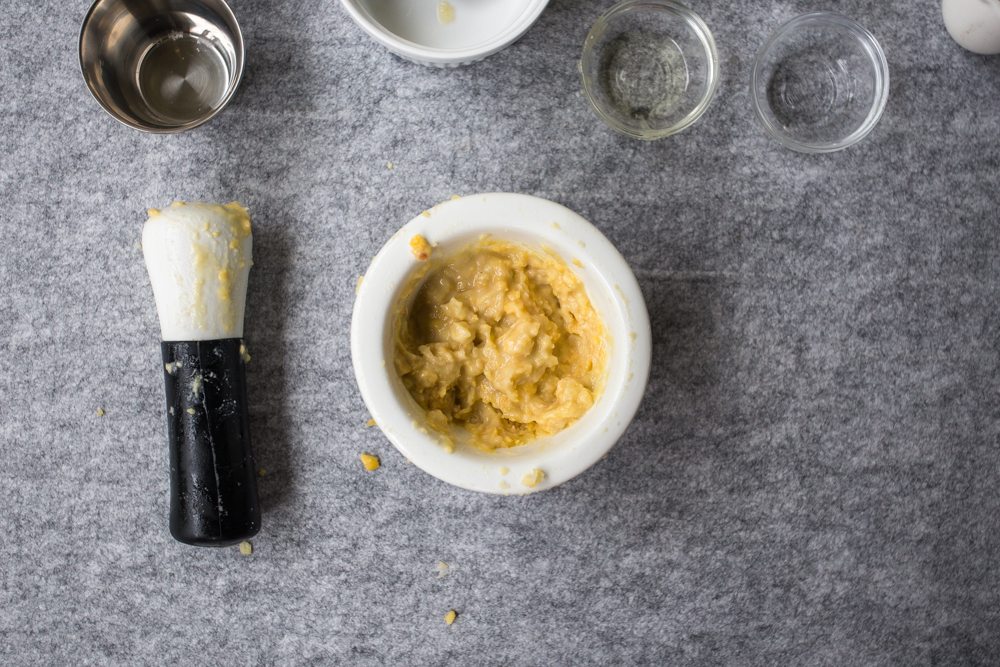
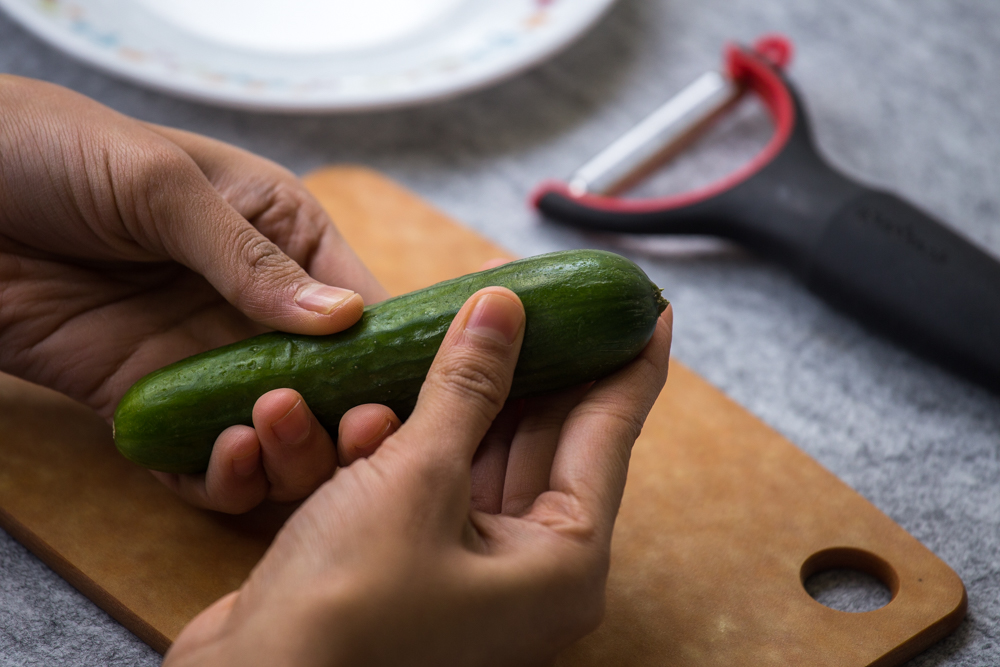
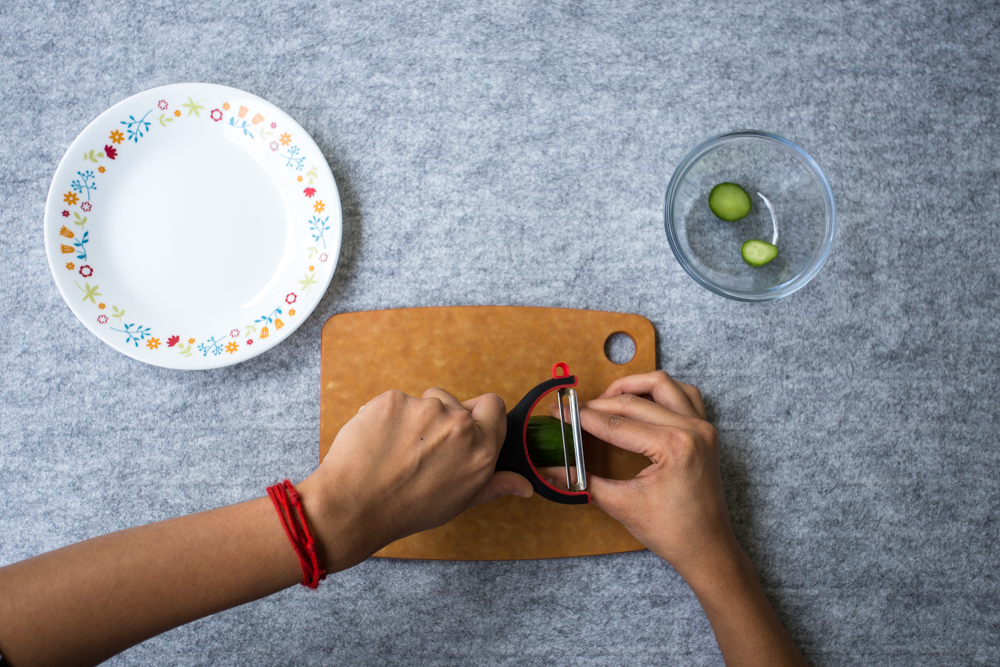
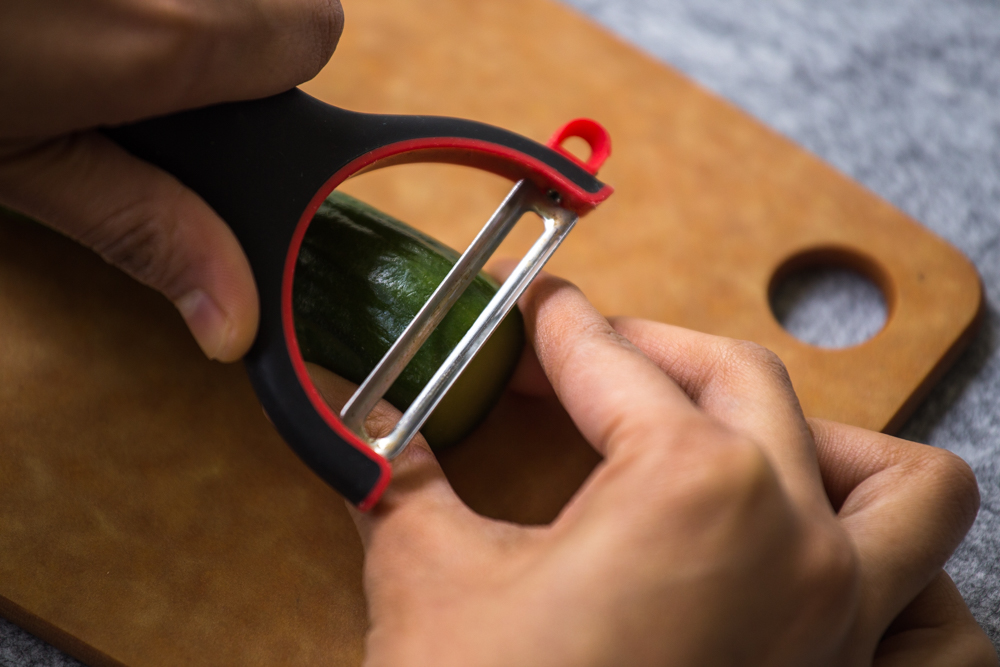
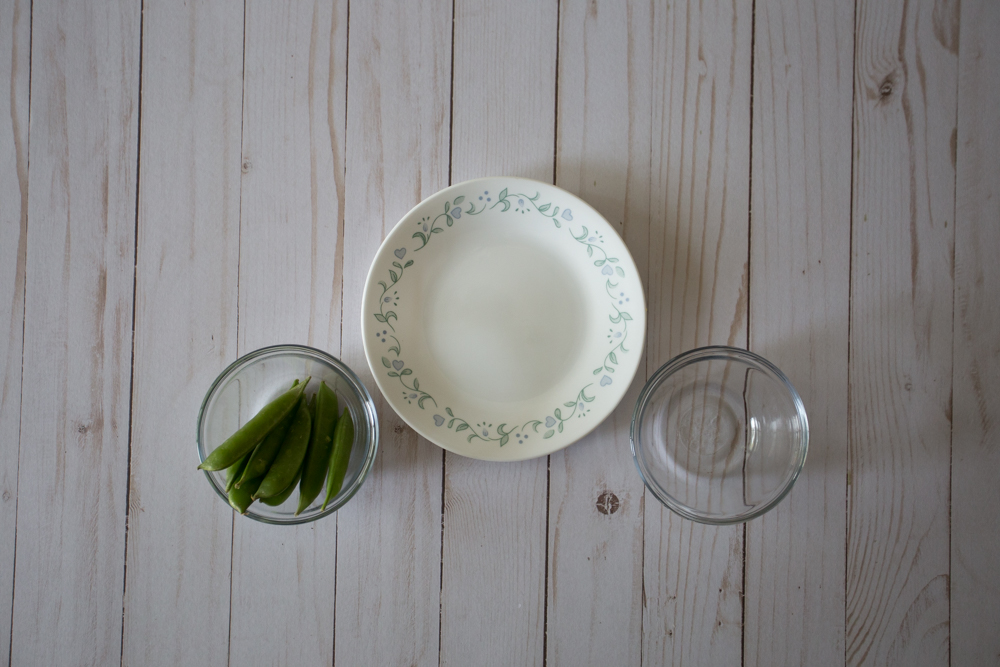
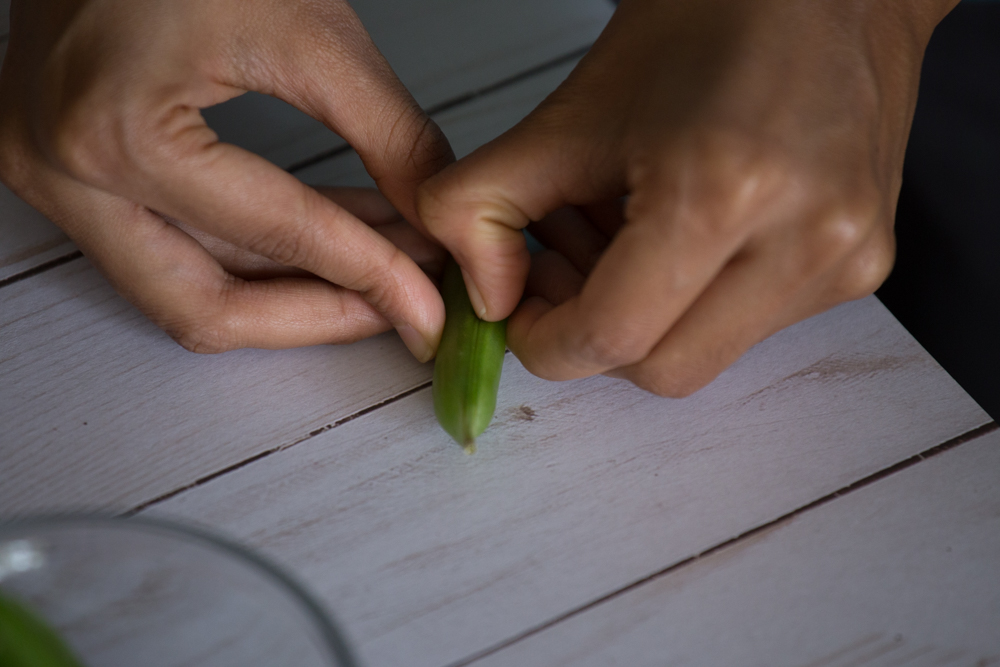
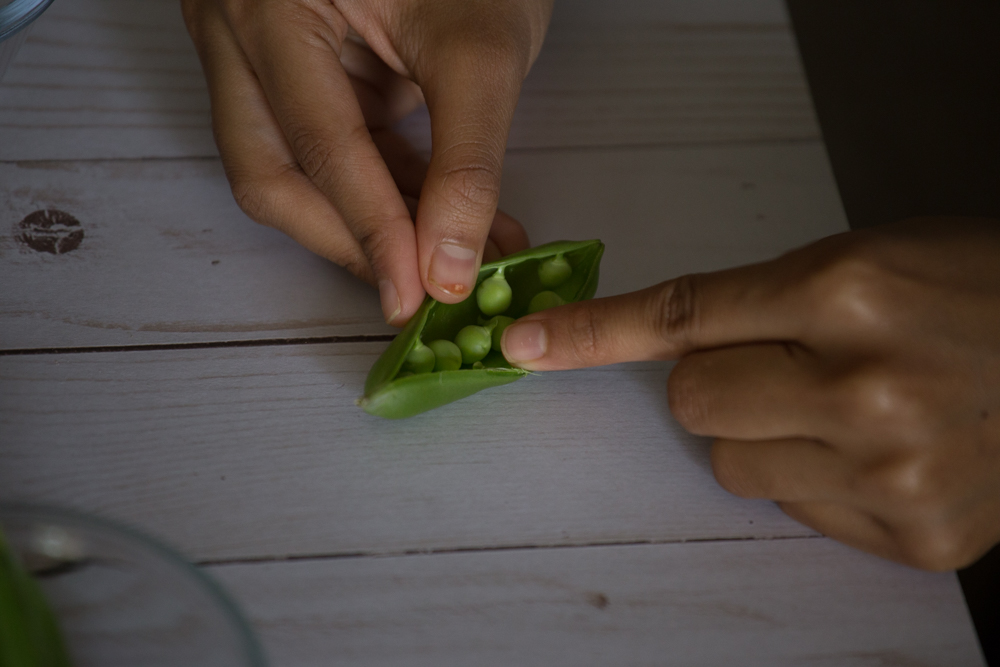
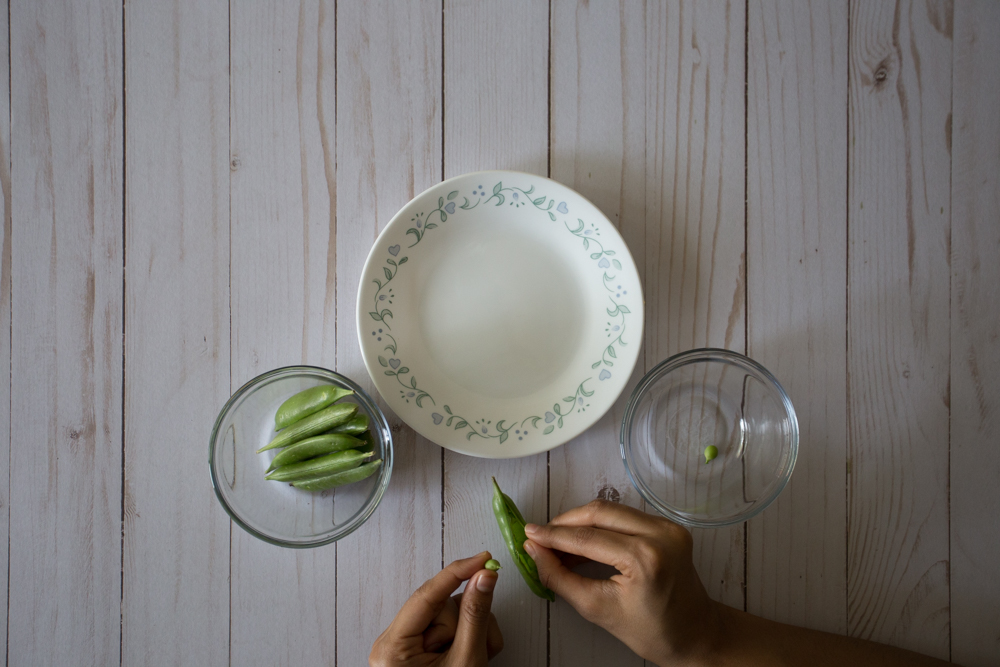
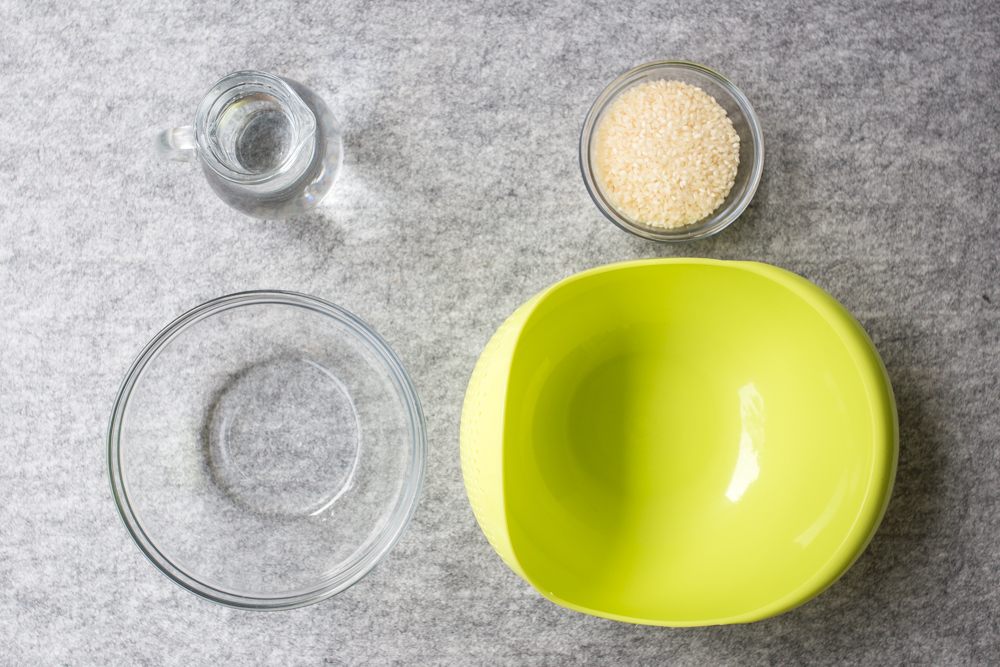
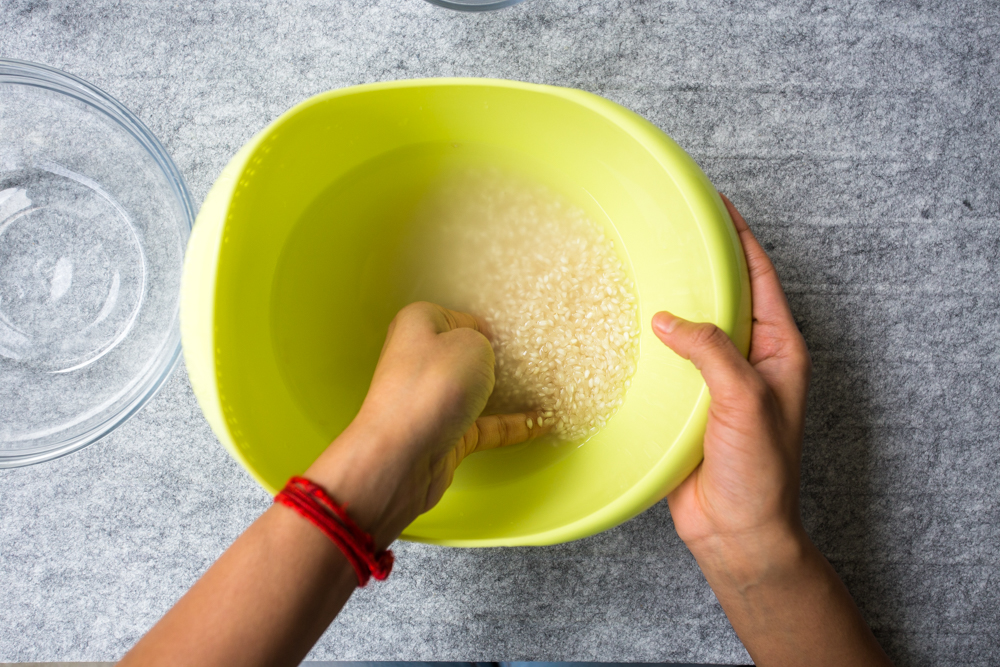
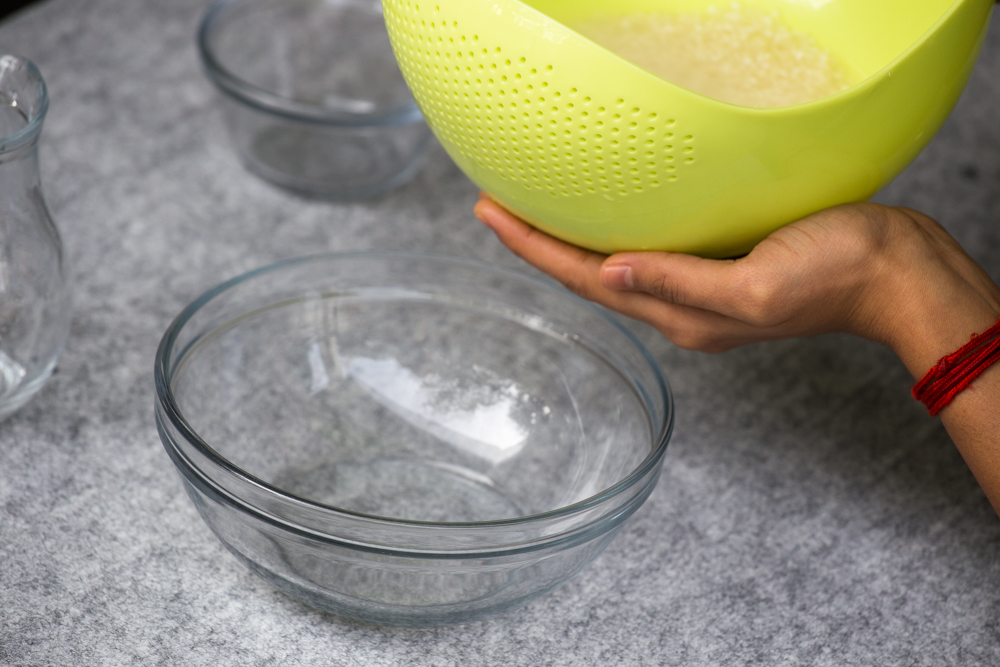
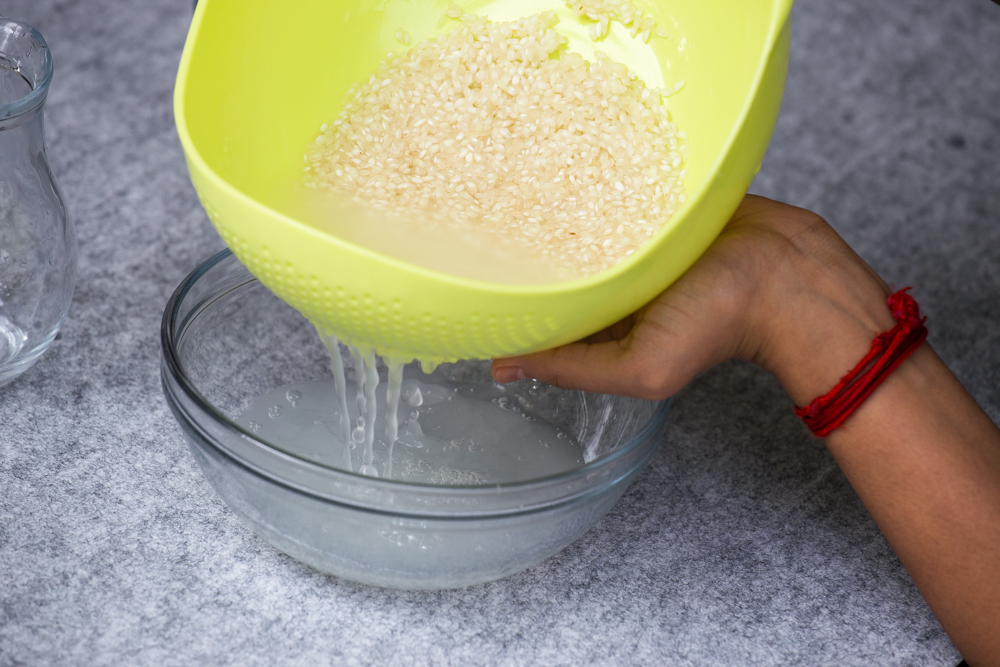
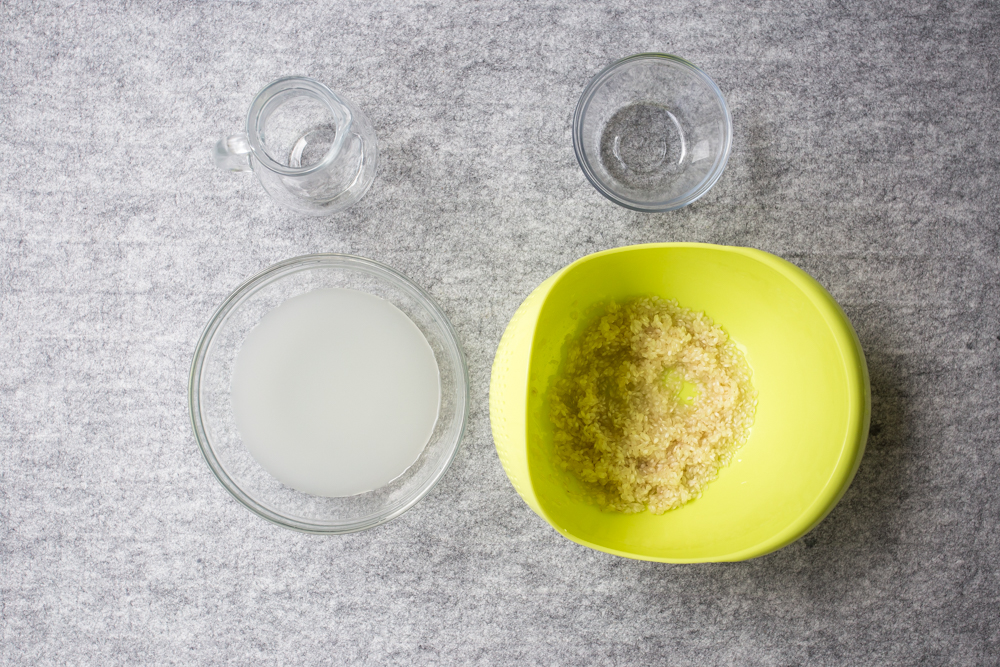
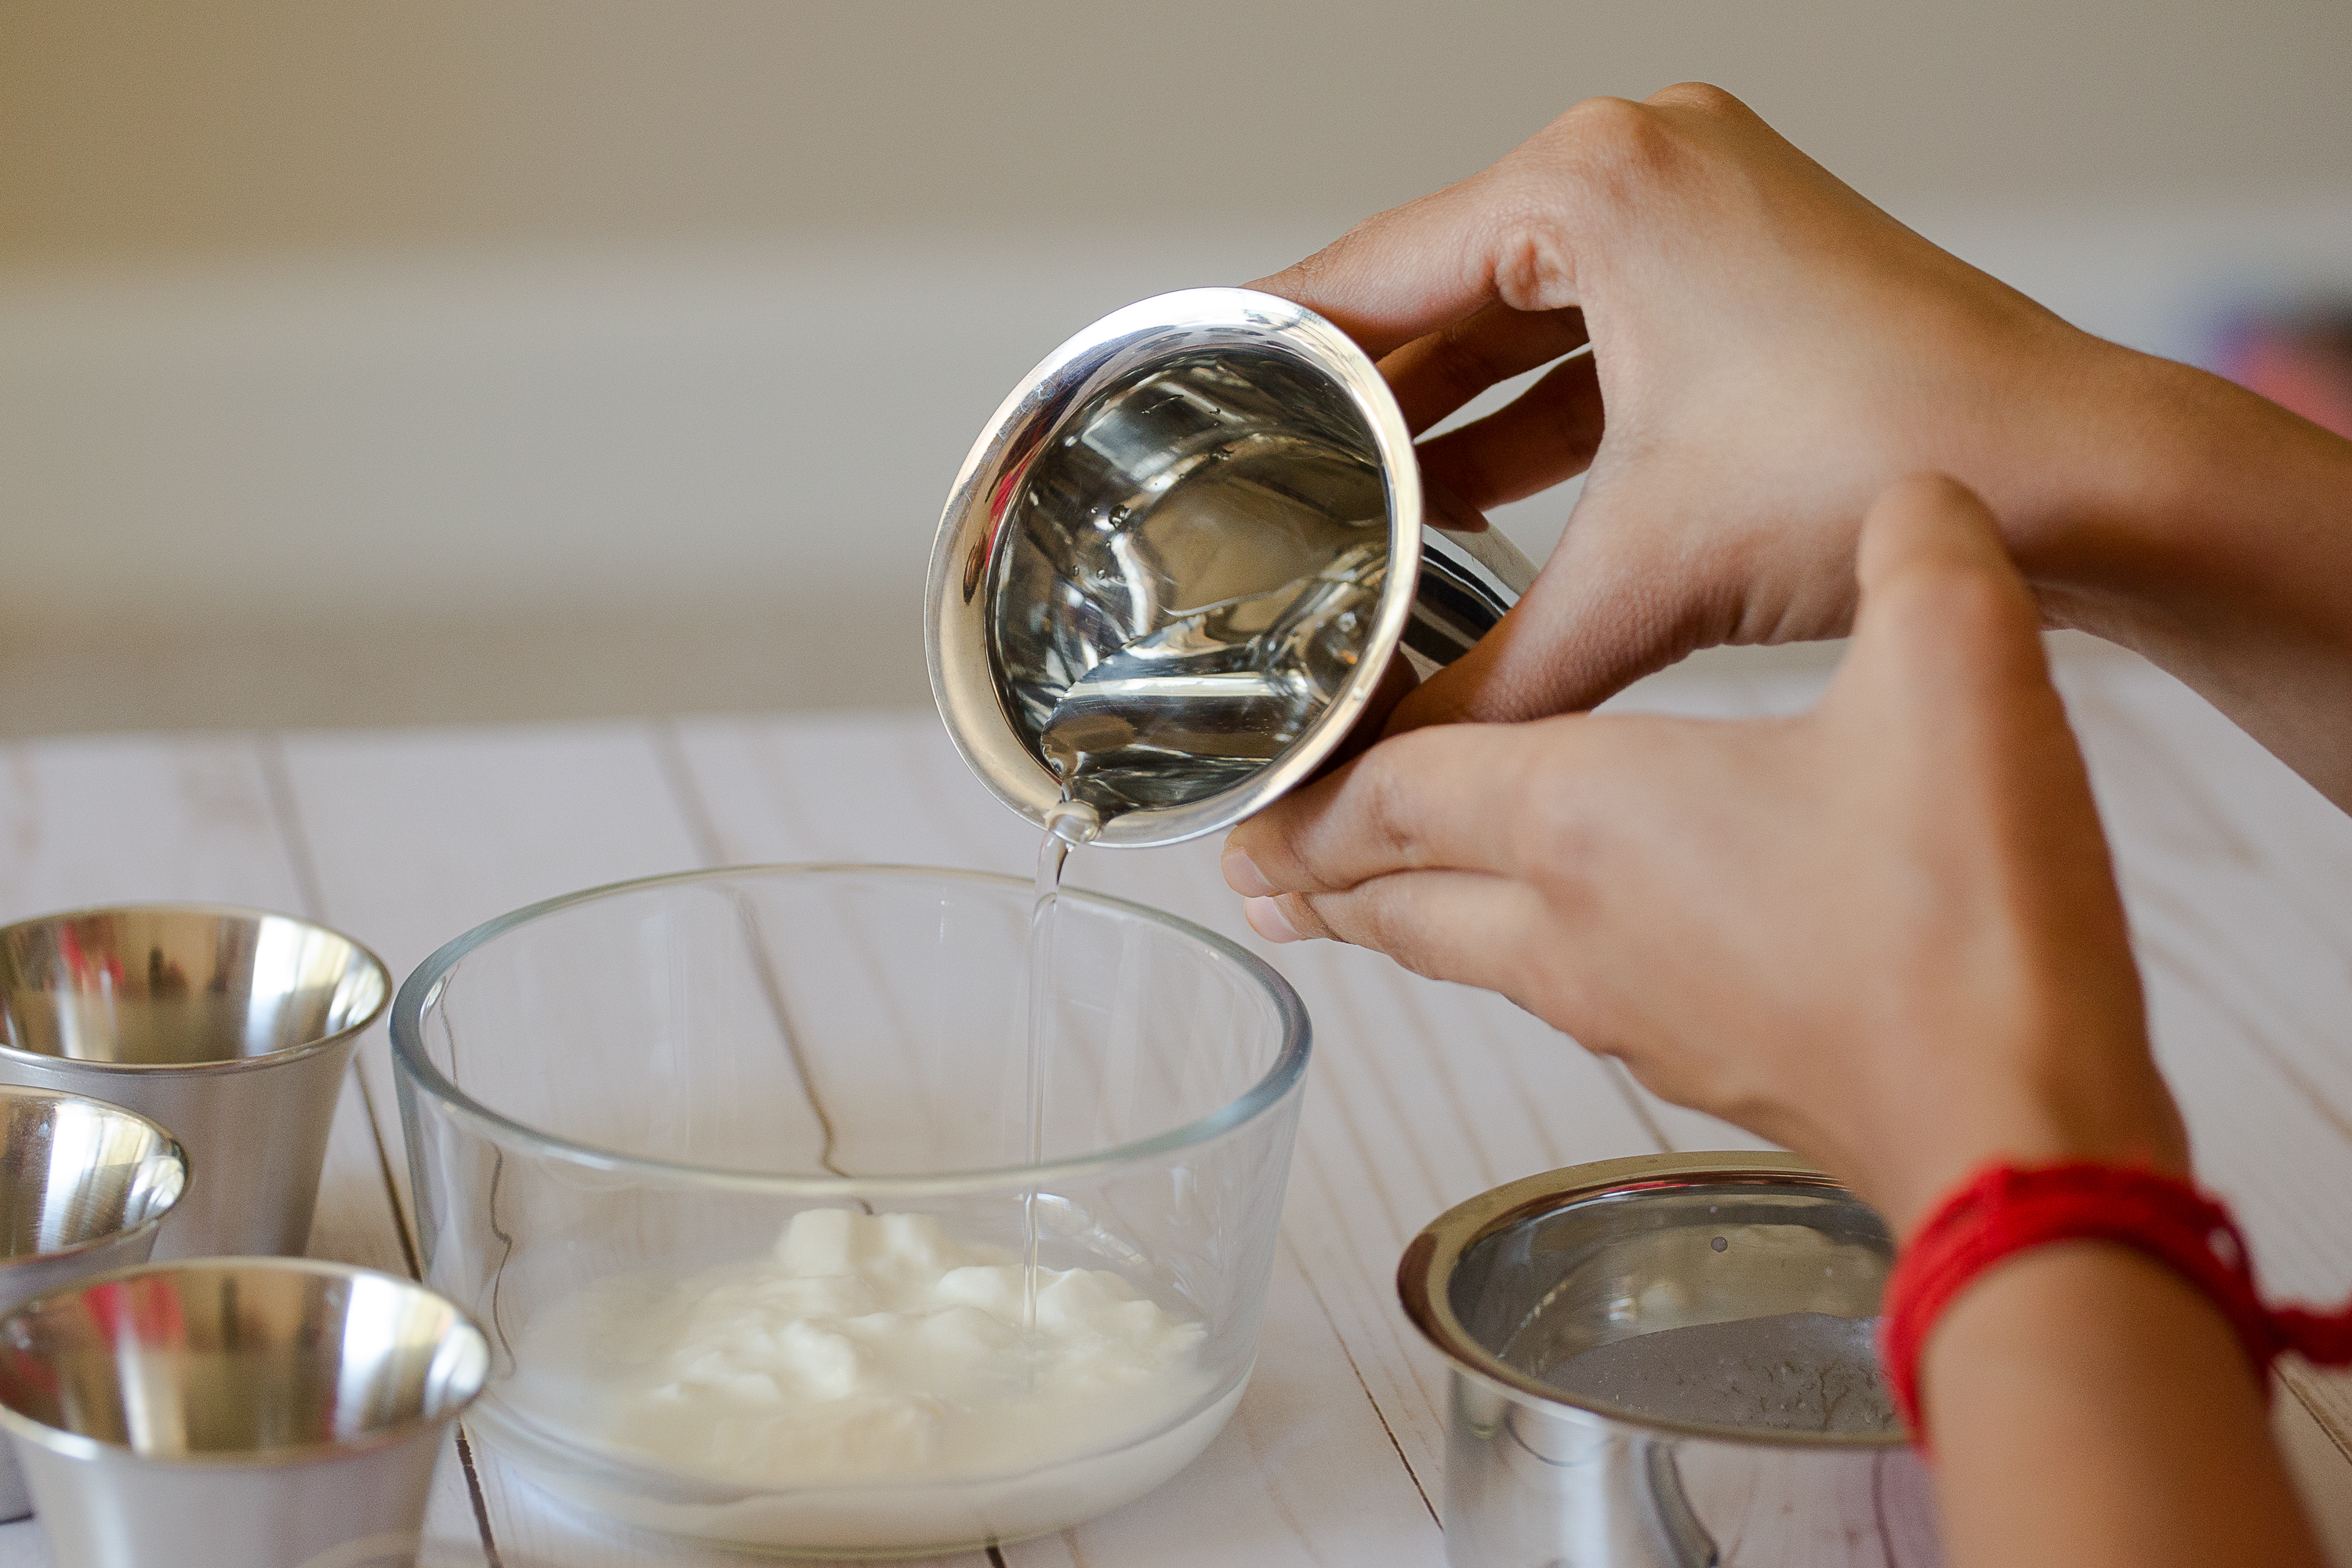
We generally prepare two meals at home every day. I try to do most of my household chores along with Agni. So, she is continually involved in the preparation of food as well. She participates in washing, de-stemming, sorting, and clearing of the ingredients used to prepare the meal. She smells and tastes the different flavours while I cook. She understands that preparing a meal takes a long time and effort. She is also part of our visits to the farmers market or supermarket where she chooses the fruits and vegetables.

Is it important to give children the experience of seeing food grow? How do you think this impacts their attitude towards food?

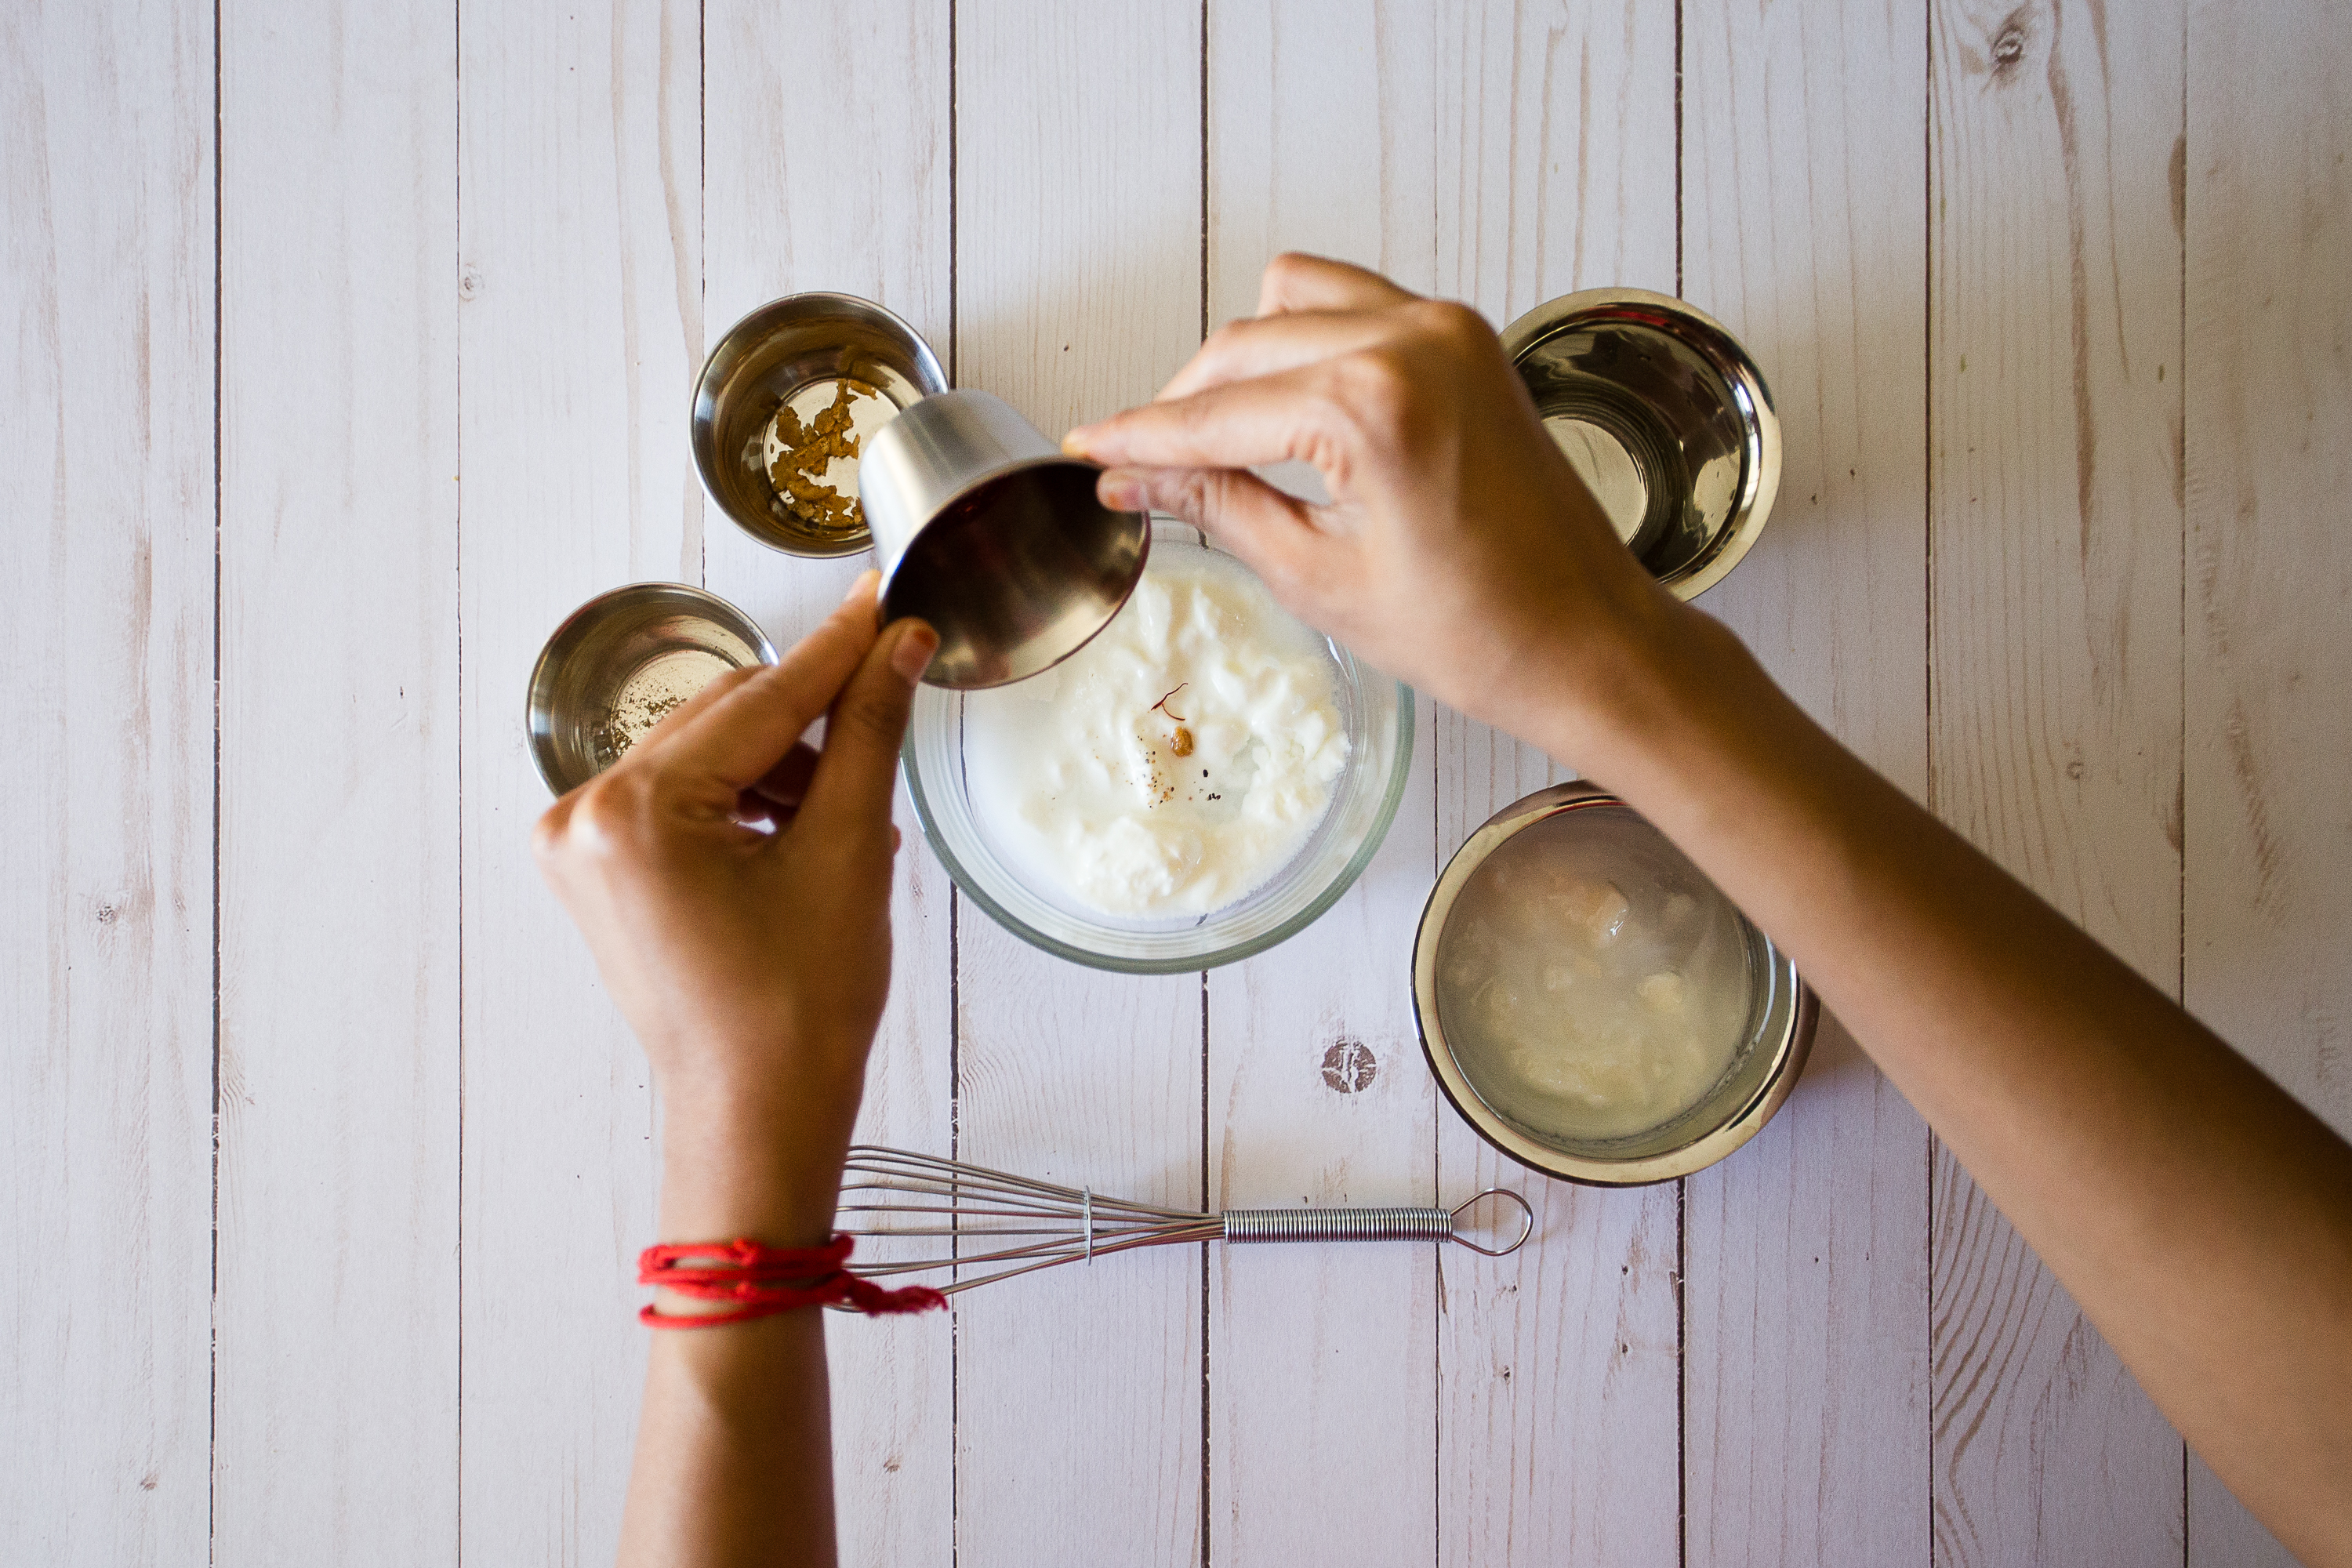
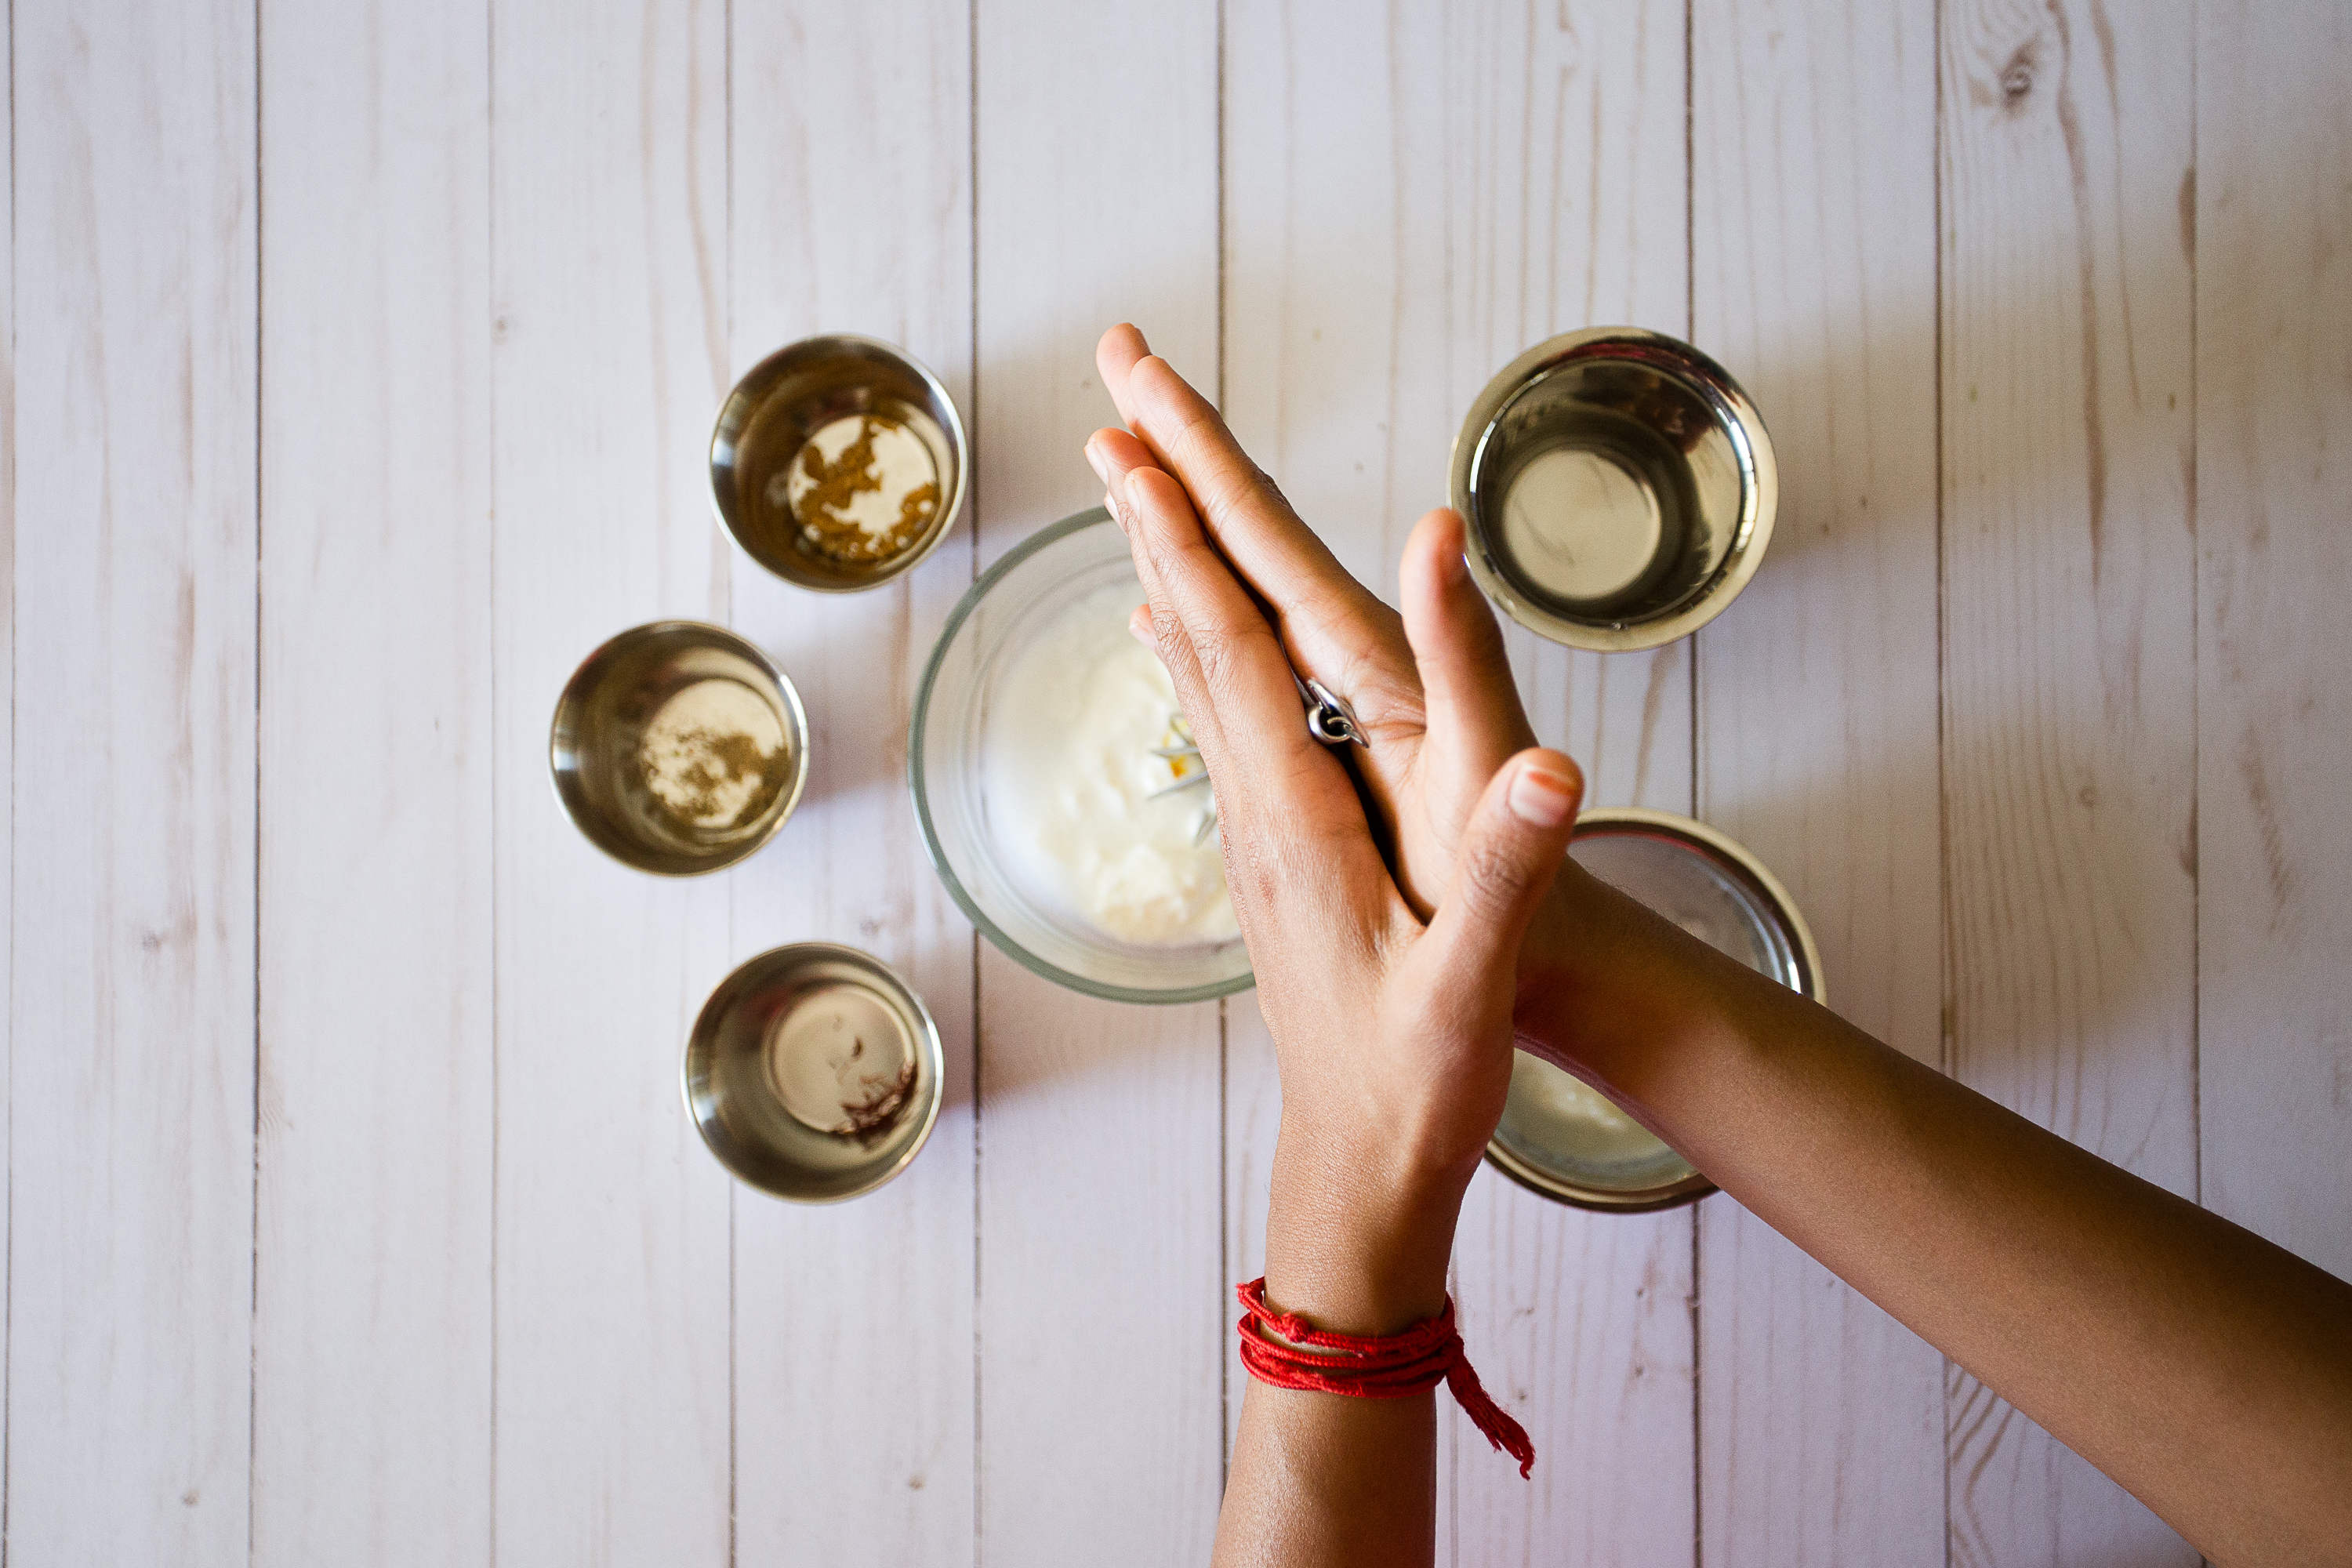
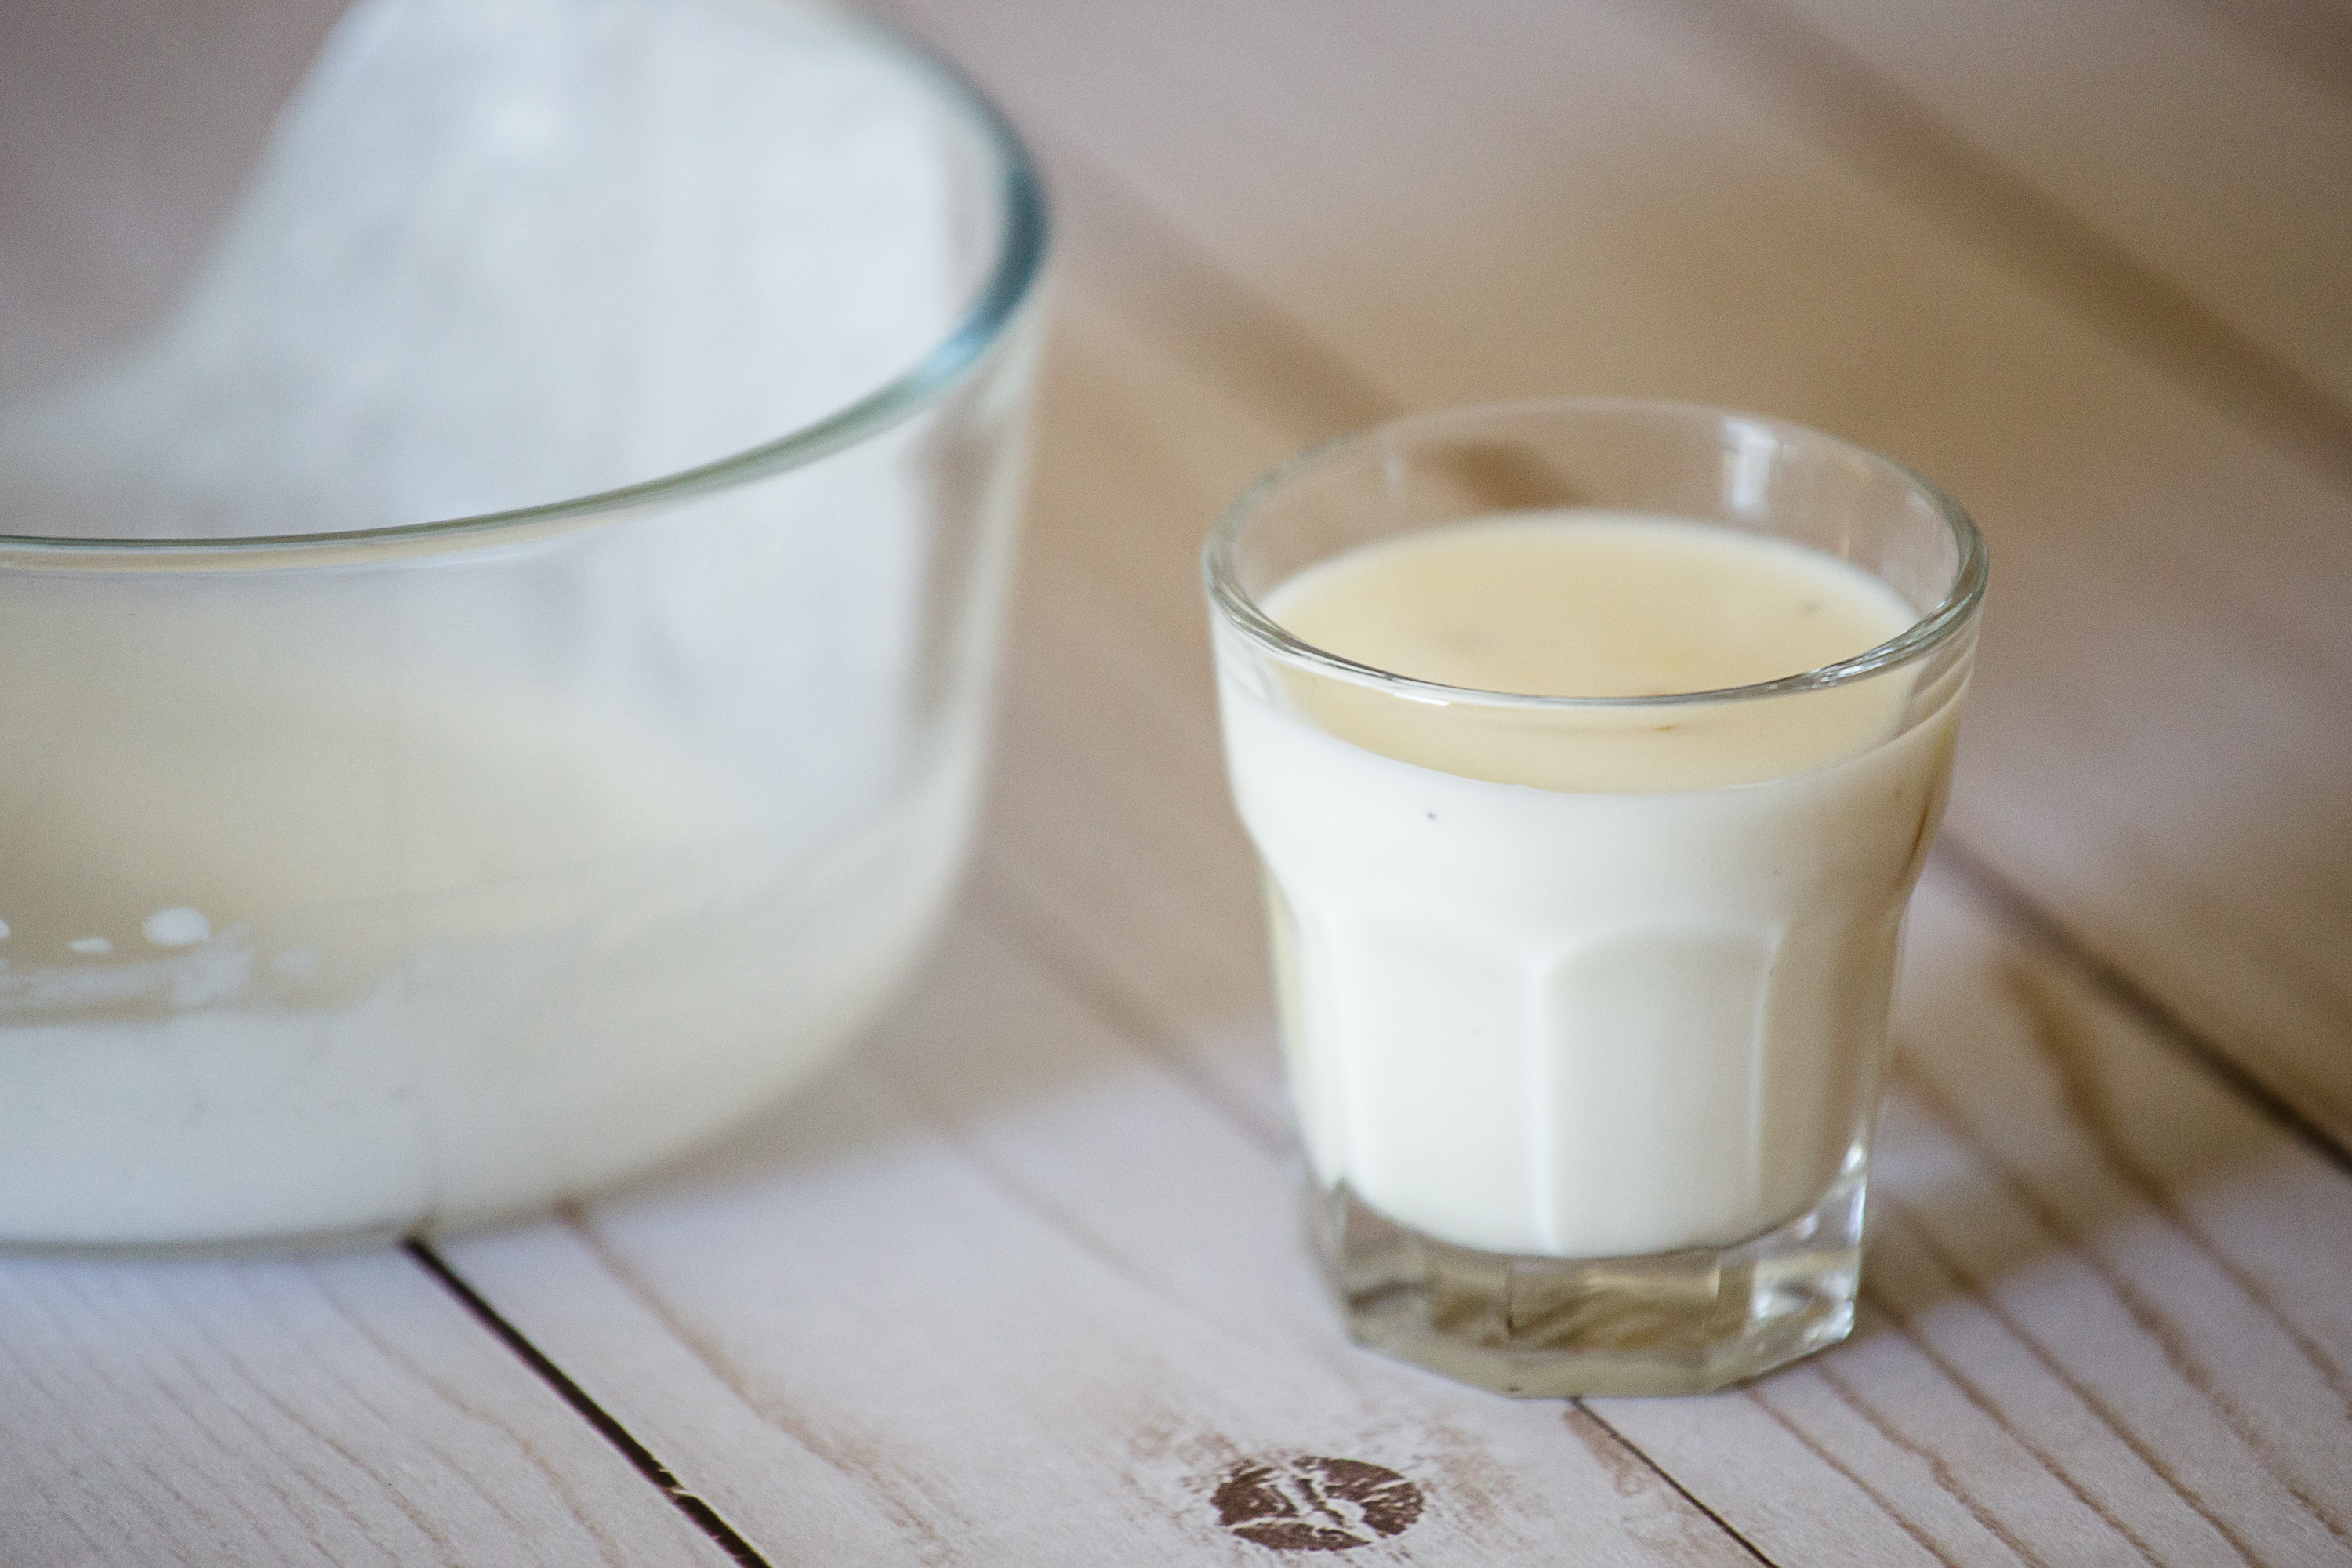
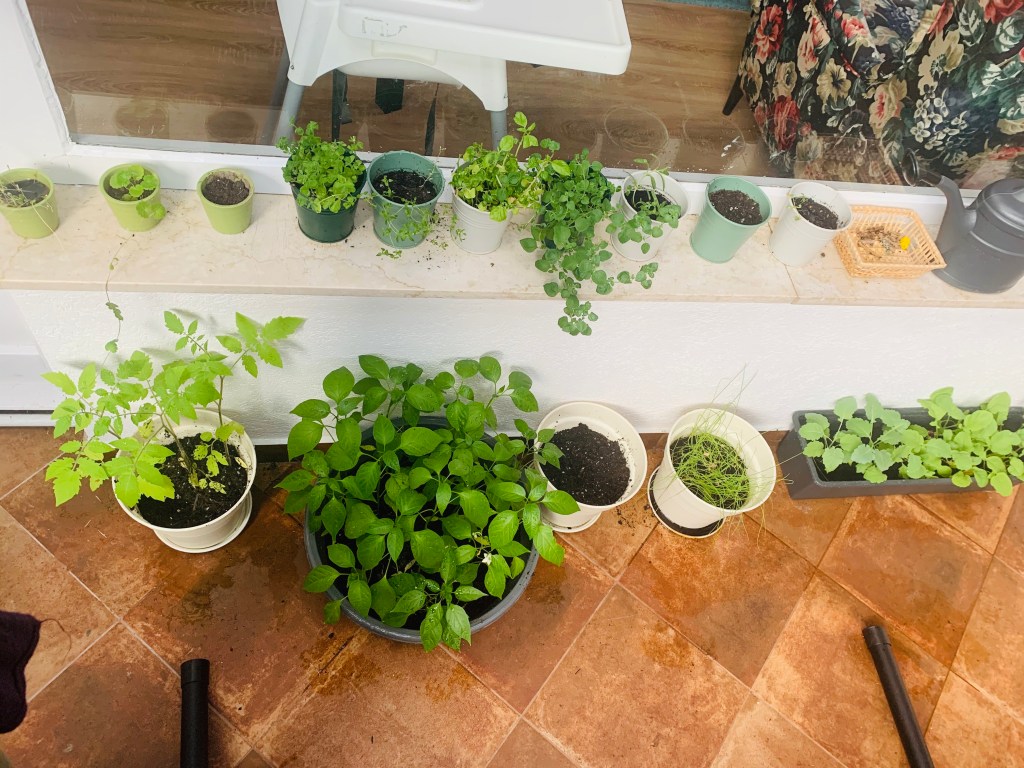
In a world where we are so disconnected with our choices, it’s important that a child knows where the food comes from. In the last few months, we are actively involved in growing plants at home in our small garden. Agni tends to the soil, waters the plants, and experiences the process of growing them. We, in whatever way possible, explain and communicate to Agni the importance of actively contributing to a changing world – a kinder world. So as a family, we are trying to reduce the consumption of animal-based products (dairy, eggs etc.).

Can you share with other parents a few guidelines on approaching food holistically?

Every human baby has an in-built mechanism to feed themselves. As a caregiver, it is important to nurture and give space for this to develop well. Besides, exposure to food need not just be confined to the dining table but can be extended to the kitchen, gardens, or farms.

Hummus

Our Little Kitchen

Hummus is a traditional Mediterranean dish that always accompanies a batch of warm pita bread. In pop culture, hummus is seen pretty much everywhere, as a side for some baked pita chips or along with raw vegetables such as carrots, cucumbers and bell peppers. Hummus is packed in nutrition and is a wonderful snack that young children can help prepare for the whole family. It helps them sequence steps, exercise their muscle strength, use their judgement and practice plenty of perseverance. These days, hummus is made in a blender but for young children, it is wonderful to learn it the traditional way, using a mortar & pestle and their bare hands to put them all together!

Who is this for?

I would recommend this for children upwards of 2 years.

Things Required

1 bowl for (15 tsp or 25 grams cooked and soft garbanzo beans)

1 spoon

5 small bowls for (diced garlic, salt, lemon juice, tahini and olive oil)

1 sturdy and functional mortar and pestle

1 small pitcher (for water)

Preparation

As part of preparation from your side, make sure the garbanzo beans are very soft and cooked. With young children, I prefer to add the beans in batches and mash them instead of adding them all together. This also encourages them to count and makes it quite exciting. It increases the challenge of mashing for the child, making it accessible instead of overwhelming!

It is also important to remember that if we aim for a perfectly mashed hummus with young children, it may throw them off the activity. When you begin, let the child mash however they can and as much as they can. You can also offer to collaborate and take turns. As always, you are the best judge of what works will for your child in your kitchen!

Illustrated Guide

I like to begin with an invitation, “Let me show you how to make some hummus today.” Introduce everything at the table, else tell the child what is required and gather them together.

IMG_3075

Encourage the child to explore the ingredients using their senses, taste a little garlic, a bit of the tahini and even some raw lemon juice to get to know the flavours that are going to enhance their hummus!

Hummus extra .jpg

Show the child to transfer the minced garlic and salt into the mortar.

IMG_3084

Exert pressure and show the child to crush them using the pestle. It is important to exaggerate this movement to draw attention to the pressure applied.

IMG_3087

Show the child to count 5 spoons of the garbanzo beans into the mortar. Stop and show the child to mash them.

IMG_3090

Let the child mash however they can. You can offer to hold the mortar and even take turns mashing them (if the child needs that help)

IMG_3095.jpg

Spoon 5 more spoons of beans into the mortar and continue mashing together. Once they have been mashed well, encourage the child to taste a little bit of the hummus before adding more flavours.

IMG_3099

Show the child to transfer the lemon juice, the tahini and olive oil to the mashed beans. Mash again using the pestle.

IMG_3102.jpg

If it looks dry, show the child to fetch water in the small pitcher and add it to the hummus. Mash again using the pestle until you and child are satisfied with the desired consistency. Involve the child in putting the use items away or for wash.

IMG_3104

The child can have hummus as a perfect snack with cut cucumbers, carrots or celery or even bread or cracker.

IMG_3106

Short Guide

I like to begin with an invitation, “Let me show you how to make some hummus today.”

Introduce everything at the table, else tell the child what is required and gather them together.

Encourage the child to explore the ingredients using their senses, taste a little garlic, a bit of the tahini and even some raw lemon juice to get to know the flavours that are going to enhance their hummus!

Show the child to transfer the minced garlic and salt into the mortar.

Exert pressure and show the child to crush them using the pestle. It is important to exaggerate this movement to draw attention to the pressure applied.

Show the child to count 5 spoons of the garbanzo beans into the mortar. Stop and show the child to mash them.

Let the child mash however they can. You can offer to hold the mortar and even take turns mashing them (if the child needs that help)

Draw attention to how the beans are getting mashed and soft.

Spoon 5 more spoons of beans into the mortar and continue mashing together.

Once they have been mashed well, encourage the child to taste a little bit of the hummus before adding more flavours.

Show the child to transfer the lemon juice, the tahini and olive oil to the mashed beans.

Mash again using the pestle.

If it looks dry, show the child to fetch water in the small pitcher and add it to the hummus.

Mash again using the pestle until you and child are satisfied with the desired consistency.

Involve the child in putting the use items away or for wash.

The child can have hummus as a perfect snack with cut cucumbers, carrots or celery or even bread or cracker.

Peeling Cucumbers

Our Little Kitchen

Peeling is a challenging activity that aids young children’s developing muscle strength. The repetitive action of peeling helps them gain control over their fine motor skills and also draws them into bouts of focus and concentration. Peeling not only engages their tiny fingers but also their mind in a constructive activity whilst building judgement and coordination. 

Who is this for?

I would begin around 2.5 – 3 years depending on the fine motor skill of the child. 

Things Required

  • 1 medium sized cucumber/carrot
  • 1 cutting board
  • 1 sturdy and small peeler (I prefer Y peelers) 
  • 1 medium sized bowl for peels 

Preparation

I have observed that children have a better latch over the peel when the edges of the vegetable are cut. This can be done by the adult while the child watches. I also prefer not to hold and guide the child’s hand while they are peeling. This gives adults complete control but a very false sense of ‘peeling’ to the eager child. If you find that you are anxious, increase the challenge gradually by having them collaborate in the process. Also, refrain from telling them how to peel because this shifts attention from peeling to talking. Instead, just show them how it is done and have them repeat after you. 

As always, you are the best judge of what works well for your child in your kitchen! 

Illustrated Guide 

I like to begin with an invitation, “Let me show you how to peel a cucumber today.” Introduce everything at the table, else tell the child what is required and gather them together. 

IMG_3008

Let the child smell, feel and touch the cucumber. Wash the vegetable at the sink and discard the edges. 

IMG_2986

Show the child the peeler. Point to the blade and mention that it is sharp and used only for peeling the vegetable.

IMG_2989

Hold the cucumber down using your non-dominant hand to give support and hold the peeler using full support of your palm and fingers. This gives children better support when they repeat after. 

IMG_2992

Begin at one end of the cucumber and point to the blade touching the peel.

IMG_2994

Exaggerate applying pressure and glide from end to end, pausing in between to watch the peel come off. 

IMG_2998

Place the peeler down and pick up the peel and place it in the bowl for peels. It is nice to point to the color difference where the peel is removed and touch and feel the cucumber. 

IMG_3001

Rotate around and continue peeling. Let the child peel however they can. You can offer to hold the cucumber for support. 

IMG_3005

Once the cucumber has been peeled, the peels can be put in compost. Guide the child to put the other items away or for wash. 

Short Guide

  • I like to begin with an invitation, “Let me show you how to peel  a cucumber today.” 
  • Introduce everything at the table, else tell the child what is required and gather them together. 
  • Let the child smell, feel and touch the cucumber. 
  • Wash the vegetable at the sink and discard the edges. 
  • Show the child the peeler. Point to the blade and mention that it is sharp and used only for peeling the vegetable. 
  • Hold the cucumber down using your non-dominant hand to give support and hold the peeler using full support of your palm and fingers. This gives children better support when they repeat after. 
  • Begin at one end of the cucumber and point to the blade touching the peel. 
  • Exaggerate applying pressure and glide from end to end, pausing in between to watch the peel come off. 
  • Place the peeler down and pick up the peel and place it in the bowl for peels. 
  • It is nice to point to the color difference where the peel is removed and touch and feel the cucumber. 
  • Rotate around and continue peeling. 
  • Let the child peel however they can. You can offer to hold the cucumber for support. 
  • Once the cucumber has been peeled, the peels can be put in compost. 
  • Guide the child to put the other items away or for wash. 

Note : You can also cut the cucumber in half to prevent it from rolling. I have used Persian Cucumbers. Use whatever is locally available. 

Breaking Beans

Our Little Kitchen

Green Beans are healthy, juicy and crunchy vegetables that are rich in nutrients. Very young children, just inducted into the kitchen, find the single step process of breaking beans just enough to challenge and hold their attention. The slender pods of the green beans help the child’s tender hands find strength in breaking them; there is joy in discovering tiny green beans inside. The repetition of the same step helps them gain confidence and a sense of completion of a task from start to finish.

Who is this for?

I would recommend this for children as young as 16 – 19 months. Even if they aren’t walking well, the adult can set this activity up at a table with a seat for the child to challenge their fine motor skills and muscle strength.

Things Required

  • 1 bowl (with a handful of green beans)
  • 1 colander

Preparation

Traditionally, green beans come with a thin string that runs along the seam. If you find this variety, for younger children, it is better to pick pods with the stalk. That way, we can show them to snap the stalk and also pull the string. In this recipe, I have used beans that do not have the string and can just be snapped in two. Also, a point to note is that when beans are steamed, there is usually no need to pull the string.

If you prefer, you are also free to trim the edges of the beans before setting the activity up for the child. In that case, it is nice to show them how you trim the edges. The child can be involved in discarding the edges.

As always, you are the best judge of what works well for your child in your home!

Illustrated Guide

I like to begin with an invitation, “Let us break some beans and steam them for lunch.”  Introduce everything at the table. It is nice to point to the pods and even create an element of surprise on what will be inside when we snap the pods. 

IMG_3110

It is also wonderful to describe some physical properties for children such as “Oh these beans are green in colour, they are slender and long.” etc.

IMG_3118

Show the child to take and hold a pod in both hands.

IMG_3117

Exaggerate applying pressure and break the beans into two pieces.

IMG_3121

Point to the surprise in the pod – the tiny green beans.

IMG_3125

If you find that even after breaking, the beans are long, you can just casually remark, “Oh, this is still long, I am going to make it shorter” and then just snap it again.

Green Beans Extra.jpg

Place the broken beans in the colander. Let the child break beans however they can.

IMG_3129

Once the beans are broken, they can be taken in the colander for washing. Involve the child in putting the used items away or for wash.

IMG_3131

Short Guide

  • I like to begin with an invitation, “Let us break some beans and steam them for lunch.”
  • Introduce everything at the table. It is nice to point to the pods and even create an element of surprise on what will be inside when we snap the pods. It is also wonderful to describe some physical properties for children such as “Oh these beans are green in colour, they are slender and long.” etc.
  • Show the child to take and hold a pod in both hands.
  • Exaggerate applying pressure and break the beans into two pieces.
  • Point to the surprise in the pod – the tiny green beans.
  • If you find that even after breaking, the beans are long, you can just casually remark, “Oh, this is still long, I am going to make it shorter” and then just snap it again.
  • Place the broken beans in the colander.
  • Let the child break beans however they can.
  • Once the beans are broken, they can be taken in the colander for washing.
  • Involve the child in putting the used items away or for wash.

Making Peas Pulav

Our Little Kitchen

Peas Pilaf or Pulav is an aromatic rice made using a variety of spices and green peas. It is a wonderful multi-step activity that helps young children in sequencing and organising steps and coordinating their fine motor movements. The control required in spooning rice and peas, pouring water and calculating when to close the water dispenser are simple challenges that make the activity exciting. Not to mention, the aromatic spices are a treat to the olfactory and gustatory senses.

Who is this for?

I would begin around 22- 24 months

Things Required

  • 1 medium sized bowls (½ cup shelled green peas)
  • 1 medium bowl (1 cup long-grain basmati rice)
  • 1 pitcher (water)
  • 1 small bowl (2 tbsp ghee or soft butter)
  • 1 small bowl (2 – 3 cloves)
  • 1 small bowl (cumin seeds)
  • 1 small bowl (salt to taste)
  • 1 mixing ladle
  • 1 spoon
  • 1 rice cooker

Preparation

I generally do not recommend pre-measuring water in a cup because walking up and down to fetch water and learning when to close and open the water-dispenser challenges young children’s judgement and developing gross motor coordination. I also do not prefer to crowd the pulav with too many spices especially when young children are smelling, tasting and mixing.

Slicing onions are a wonderful step that can be added to the recipe. Onions can be sliced by the adult since they are tough roots. However, the tears that come while slicing onions, the spicy taste and aromatic smell of onions are all wonderful experiences to offer young children who can assist in discarding the skin, washing the onion, etc.

As always, you are the best judge of what works for your child in your kitchen!

Illustrated Guide

I like to begin with an invitation, “Let’s go and make peas pulao for dinner.” Introduce all the ingredients at the table.

IMG_2880

Let the child touch and feel the tough peas, the washed rice and smell the spices and ghee.

IMG_2881.jpg

Show the child to spoon the rice into the cooker.

IMG_2887

Move the peas to the front and the empty rice bowl to the back to give better access to the child. Show the child to spoon the peas into the cooker. 

IMG_2892

Once they have been transferred, mix the two well.

IMG_2902

Show the child to measure two cups of water and pour into the cooker. Let the child pour however they can.

IMG_2908.jpg

Transfer the cumin, cloves and the salt into the cooker.

IMG_2909.jpg

Bring the ghee bowl closer to the cooker and pour it into the cooker.

IMG_2914.jpg

Mix all the ingredients well.

IMG_2916.jpg

The child can carry it to the plug source and the adult can plug it in. Involve the child in putting the used items away or for wash. Once the rice is done, take in the aroma and warmth of the pulao.

IMG_2938

Short Guide

  • I like to begin with an invitation, “Let’s go and make peas pulao for dinner.”
  • Introduce all the ingredients at the table. Let the child touch and feel the tough peas, the washed rice and smell the spices and ghee.
  • Show the child to spoon the rice into the cooker.
  • Move the peas to the front and the empty rice bowl to the back to give better access to the child. 
  • Show the child to spoon the peas into the cooker. 
  • Show the child to spoon the peas into the cooker.
  • Once they have been transferred, mix the two well.
  • Show the child to measure two cups of water and pour into the cooker. Let the child pour however they can.
  • Transfer the cumin, cloves and the salt into the cooker.
  • Bring the ghee bowl closer to the cooker and pour it into the cooker.
  • Mix all the ingredients well.
  • The child can carry it to the plug source and the adult can plug it in.
  • Involve the child in putting the used items away or for wash.
  • Once the rice is done, take in the aroma and warmth of the pulao.

Note

Since the recipe calls for several small bowls, as you finish transferring, you can tell the child that the bowl is empty and move it to the side. Washing Rice and Shelling Peas are separate activities which can be viewed here. 

In the Kitchen with Young Children

Articles

In a lot of ways, a healthy relationship with food begins not at the table but in the kitchen where the transformation happens. For children to understand food as a whole, we need to show them where and how it is prepared. The kitchen is where the magic happens – raw vegetables are made into delicious stews and sabzis, flour and lentils are kneaded and cooked to create roti and dal. To look at food with knowledge, wonder and joy, we must collaborate with children in the process. This involves understanding the benefits of food preparation and preparing a space that will aid exploration and growth.

Some Factors to Consider before Preparing the Kitchen 

  • An Accessible Space

An important aspect of preparing the kitchen is to make it a welcoming space for the young child. This is a balancing act of having a few areas accessible, giving them responsibilities in those areas and then progressing to more. For children who are just toddling, having a few low shelves that they can independently access gives them the confidence to step into the kitchen and fetch what they need. They can also have a low table and chair to which simple tasks such as peeling oranges, or churning buttermilk can be carried to. As they grow and gain more confidence in the kitchen, a step stool can be carried by them to open the kitchen further for exploration. A step stool makes the sink accessible to do washing or the counter where we can collaborate in a variety of food preparation activities. Often, children end up asking us for simple things such as water or snack which they can independently fetch. A step stool frees such dependency and lets them access these without having to rely on us to provide everything.

Aishu Kitchen 3

  • Real Tools 

So often, children are given pretend tools that are made of cheap material and do not serve any purpose. By using these tools, children cannot accomplish the intended task even though they are eager to. Instead, if we offer them real, age-appropriate tools, we are giving the opportunity to understand where to hold, how much pressure to exert, how to hold and many other concepts which they can never learn by using a toy.

  • Appropriately- Sized 

Normally, everything in the kitchen is to the size of the adult. Just as it is difficult for us to do anything purposeful with ill-sized tools, it is hard for young children to use large and heavy tools to create anything meaningful. Not only is it dangerous, it is also frustrating and may lead to a lack of confidence in their capability. So, it is helpful to look for tools that they can hold in their little hands and manipulate.

  • Caution & Safety 

Safety is a feature that always needs to be taken into consideration when it comes to young children. It is a dynamic aspect that keeps evolving depending on the age and capabilities of the child. What is safe for a four year old may not be safe for a toddler and this comes only with observing the child act in the kitchen while also gradually increasing their scope for exploration. As adults who are responsible for our children, we must be sure to take the necessary precautionary measures to make the kitchen a safe yet challenging space for exploration and growth.

aishu-kitchen-2-e1558134998634.jpeg

What do Children get from being in the Kitchen? 

  • Fine & Gross Motor Refinement 

The kitchen challenges both the fine and gross motor skills of the child. Whether they are carrying the step stool or a jug of water from the sink to the table, they are constantly refining their gross motor skills. Kneading, pounding, mashing, whisking, grating and peeling challenge their fine motor skills. They also learn to build judgement and reasoning such as how much pressure to exert, how to carry or how to use their hands through these movements.

  • Plenty of Language

The amount of language children pickup by being in the kitchen is phenomenal. The kitchen is a lively place of action which allows for language to be created alongside experiences. As we involve children, we can use words for the actions we are going to perform, name the various ingredients or describe their features such as crunchy or creamy. Such language is not merely a build-up of vocabulary but one that is accompanied by experiences that add real meaning and value to each word.

  • Willingness to do for others

Michael Pollan, the author of Cooked : A Natural History of Transformation, says, “For is there any practice less selfish, any labor less alienated, any time less wasted, than preparing something delicious and nourishing for people you love?” 

Food is an expression of love and young children are eager to be involved in this expression. Just being in the kitchen and helping out in whatever way they can, allows children to understand that they are a part of their family and recognise that they can also have an impact on it. By collaborating in preparing a simple meal for their family, children derive a sense of purpose and willingness to do for others.

  • Attitude towards Food

When children handle raw vegetables, measure, mix and knead dough or wash and dry fruits, vegetables or rice, their experiences with being a part of the process changes their attitude towards food radically. They know what they are eating and slowly acknowledge the effort that has gone into making it. When they have participated in the preparation, they also have a personal association with the dish which makes it a lot more inviting.

  • Sensory Treat

Lastly, the experiences of being in the kitchen are nothing short of a sensory treat for the child. The aroma of the various ingredients, fruits, herbs and vegetables, the varied tastes, the experience of watching the way the ingredients blend together, the sounds of the mustard crackling, the sambhar bubbling or the tactile exploration of each of the ingredients together offer a wide database for the growing intellect. It paves the way for imagination which is the foundation of creativity!

The overall benefits of being in the kitchen outweigh the fears associated with it. In a well prepared kitchen, the child has abundant opportunities to learn and grow. It is an engaging way to bond with children and create lasting memories that will change their life-long relationship with food and the natural world.

Shelling Peas

Our Little Kitchen

There is something delicious and sweet about fresh, juicy peas that frozen peas can never offer. Shelling peas may seem futile for many adults, but the young child absolutely enjoys the challenge. There is enough stimulation to hold their attention and refine their fine motor skills, not to mention the sheer joy in discovering tiny peas hiding in each pod. 

Who is this for?

I would begin around 22 – 24 months 

Things Required

  • 2 small bowls – one for the pea pods and one for the peas
  • 1 plate – to save the pods for later use
  • Access to more pea pods in case child wants to shell more

Preparation

Sometimes, the pods come along with the stalk. In that case, we need to show the child to pull the stalk along the seam before we shell them open. I have used peas without the stalk in this. I generally prefer to use firm and plump pods because these are easier for the young hands to break open.

As always, you are the best judge of what works well in your kitchen for your child!

Illustrated Guide

I like to begin with an invitation, “Remember, we bought some fresh snap peas in the market? Let’s shell them.” Introduce everything at the table, else tell the child what we need and gather them together.

IMG_0059

Show the child the seam that runs along the pod on both sides.

IMG_0066.jpg

Place the pod on the table to give more support (for the child). Using the support of the non-dominant hand near the opening, press thumb of dominant hand into the seam to create an opening. 

IMG_0067

Use both thumbs  in widening the opening.

IMG_0083

Point to the peas in the pod.

IMG_0103

Child and you can pull each pea out and place in the bowl for the peas.

IMG_0106.jpg

Show the child to put the used pods in the compost or save them for later. Let the child press and open the pod however they can. Alternatively, you can give support by creating the first opening for very young children. 

IMG_0110.jpg

Involve the child in putting the items back in their place or for wash. 

Short Guide

  • I like to begin with an invitation, “Remember, we bought some fresh snap peas in the market? Let’s shell them.”
  • Introduce everything at the table, else tell the child what we need and gather them together.
  • Show the child the seam that runs along the pod on both sides.
  • Place pod on the table to give more support (for the child)
  • Using the support of the non-dominant hand near the opening, press thumb of dominant hand into the seam to create an opening.
  • Use both thumbs  in widening the opening.
  • Point to the peas in the pod.
  • Child and you can pull each pea out and place in the bowl for the peas.
  • Show the child to put the used pods in the compost or save them for later.
  • Let the child press and open the pod however they can. Alternatively, you can give support by creating the first opening for very young children.
  • Involve the child in putting the items back in their place or for wash. 

Washing Rice

Our Little Kitchen

Washing rice is a tradition that has been sacredly followed in many cultures for several generations. Children growing up in such environments watch this activity on a daily basis. This familiarity creates enthusiasm and since it involves water, they relish it. The texture of the dry rice as against the wet rice, the unique scent of each rice and their colour, along with the eye-hand coordination and muscle strength that this activity requires, contribute to an engaging and rich sensory experience.

Who is this for?

I would recommend this for children older than 18 months.

Things Required

  • 1 small bowl for rice (white, brown, black or red)
  • 1 medium pitcher for water
  • 1 rice washing colander 
  • 1 medium bowl for the starchy water 

Preparation

Usually, as adults, we wash rice at the sink by holding the colander in one hand and washing with the other. This is hard for young children who lack that kind of control. Also, most sinks at our homes are at adult height and for a toddler to stand on a step stool and handle the colander and water is inconvenient. For this reason, I find that having everything at a table frees the child to focus on the task in hand. An older child, who has more balance and control over water usage can wash directly at the sink.

Some families are sentimental about wastage of rice. In such a case, minimise the quantity of rice in the bowl or switch to a smaller bowl.

I also feel that we need to find a balance between child size tools and adult tools in the kitchen. For instance, in this recipe I have used an adult colander because I feel the child can achieve the purpose of the task with this colander. These are also ways to communicate to the child that our worlds can meet and merge in the kitchen! As always, you are the best judge of what will work in your home for your child!

Illustrated Guide

I like to begin with an invitation, “Come, let us wash some rice for dinner.” Introduce everything at the table else tell the child what is required and gather them together.

IMG_3035

Show the child to feel the texture of dry rice and take in the unique aroma.

IMG_3039

Show the child to transfer the rice into the colander.

IMG_3042

Fetch water in a pitcher and show the child to pour into the colander.

IMG_3047

Mix and draw attention to the change in colour of the water.

IMG_3049

Let the child mix and wash the rice however they can. Show the child to pour the starchy water into the medium bowl. 

IMG_3053

It is helpful to draw attention to the water flowing through the holes. 

IMG_3069

Let the child repeat by fetching more water and washing. I generally use the starchy water to feed the plants or pour in a bowl for birds and squirrels. Involve the child in putting the items back in their place or for wash.

IMG_3072

Short Guide

  • I like to begin with an invitation, “Come, let us wash some rice for dinner.”
  • Introduce everything at the table else tell the child what is required and gather them together.
  • Show the child to feel the texture of dry rice and take in the unique aroma.
  • Show the child to transfer the rice into the colander.
  • Fetch water in a pitcher and show the child to pour into the colander.
  • Mix and draw attention to the change in colour of the water.
  • Let the child mix and wash the rice however they can. 
  • Show the child to pour the starchy water into the medium bowl.
  • It is helpful to draw attention to the water flowing through the holes. 
  • Let the child repeat by fetching more water and washing.
  • I generally use the starchy water to feed the plants or pour in a bowl for birds and squirrels.
  • Involve the child in putting the items back in their place or for wash.

Making Lassi

Our Little Kitchen

Lassi, also known as buttermilk, is a drink that is had in most Indian households. Since curd is an integral part of Indian meals, children get to see someone in the home busily churn buttermilk on those hot and humid afternoons. Lassi-making is a multi-step activity that draws young children because it involves pouring water, transferring the curd and churning the mixture. Traditionally, in South India, we use a மத்து (matthu) to churn the buttermilk, but in this case, I have used a whisk.

Who is this for?

I would begin around 20 months.

Things Required

  • 3 small bowls for (jaggery, cardamom and saffron) 
  • 1 tumbler/pitcher for water
  • 1 medium size bowl for thick curd
  • 1 spoon for the curd
  • 1 large bowl for whisking
  • 1 small whisk
  • Glasses for sharing

Preparation

I find that to spoon curd into a bowl calls for more focus and eye-hand coordination which challenges young children. They may lose interest if they are older. Instead of having water in a tumbler, walking to fetch water is an option which young children, who have just begun walking, enjoy.

As always, you are the best judge of what works well for your child in your kitchen! 

Illustrated Guide

I like to begin with an invitation, “It’s such a hot day, let’s make some sweet lassi for all of us.” Introduce everything on the tray (if you have them arranged) else tell the child what we need and gather them together. Pause and take in the aroma, texture and appearance of each of the spices – jaggery, saffron and cardamom.

Lassi 1

Show the child to spoon the curd into the whisking bowl.

Lassi 2

Pour the water into the bowl.

Lassi 3

Now guide the child to add each of the spices.

Lassi 4

Begin whisking! This movement needs to be exaggerated and slowed down for the child to observe! When the child repeats after, let them whisk however they can.

Lassi 5

Involve the child in putting the items back in their place (or for wash)

Lassi 6

Short Guide

  • I like to begin with an invitation, “It’s such a hot day, let’s make some sweet lassi for all of us.”
  • Introduce everything on the tray (if you have them arranged) else tell the child what we need and gather them together.
  • Pause and take in the aroma, texture and appearance of each of the spices – jaggery, saffron and cardamom.
  • Show the child to spoon the curd into the whisking bowl.
  • Pour the water into the bowl.
  • Now guide the child to add each of the spices.
  • Begin whisking. This movement needs to be exaggerated and slowed down for the child to observe.
  • Let the child whisk however they can.
  • Involve the child in putting the items back in their place (or for wash)