Hummus is a traditional Mediterranean dish that always accompanies a batch of warm pita bread. In pop culture, hummus is seen pretty much everywhere, as a side for some baked pita chips or along with raw vegetables such as carrots, cucumbers and bell peppers. Hummus is packed in nutrition and is a wonderful snack that young children can help prepare for the whole family. It helps them sequence steps, exercise their muscle strength, use their judgement and practice plenty of perseverance. These days, hummus is made in a blender but for young children, it is wonderful to learn it the traditional way, using a mortar & pestle and their bare hands to put them all together!
Who is this for?
I would recommend this for children upwards of 2 years.
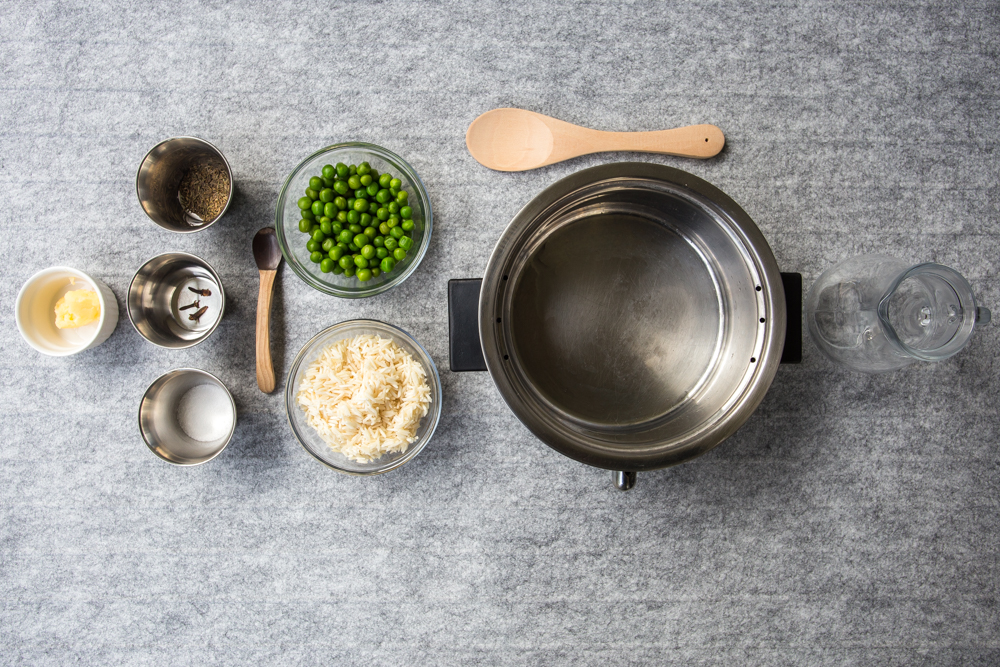
Things Required
1 bowl for (15 tsp or 25 grams cooked and soft garbanzo beans)
1 spoon
5 small bowls for (diced garlic, salt, lemon juice, tahini and olive oil)
1 sturdy and functional mortar and pestle
1 small pitcher (for water)
Preparation
As part of preparation from your side, make sure the garbanzo beans are very soft and cooked. With young children, I prefer to add the beans in batches and mash them instead of adding them all together. This also encourages them to count and makes it quite exciting. It increases the challenge of mashing for the child, making it accessible instead of overwhelming!
It is also important to remember that if we aim for a perfectly mashed hummus with young children, it may throw them off the activity. When you begin, let the child mash however they can and as much as they can. You can also offer to collaborate and take turns. As always, you are the best judge of what works will for your child in your kitchen!
Illustrated Guide
I like to begin with an invitation, “Let me show you how to make some hummus today.” Introduce everything at the table, else tell the child what is required and gather them together.

Encourage the child to explore the ingredients using their senses, taste a little garlic, a bit of the tahini and even some raw lemon juice to get to know the flavours that are going to enhance their hummus!

Show the child to transfer the minced garlic and salt into the mortar.

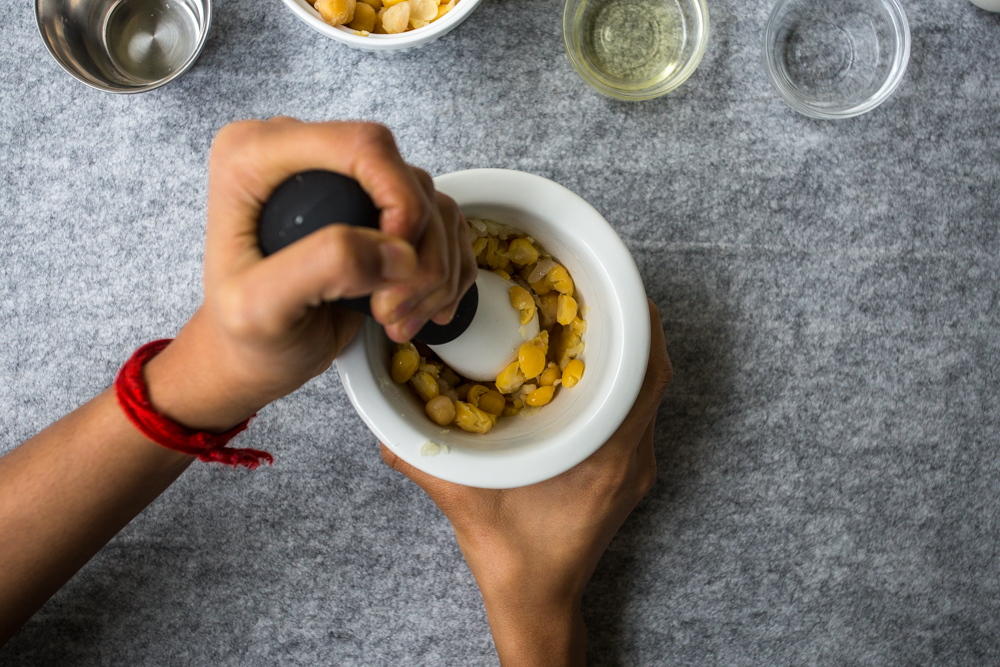
Exert pressure and show the child to crush them using the pestle. It is important to exaggerate this movement to draw attention to the pressure applied.
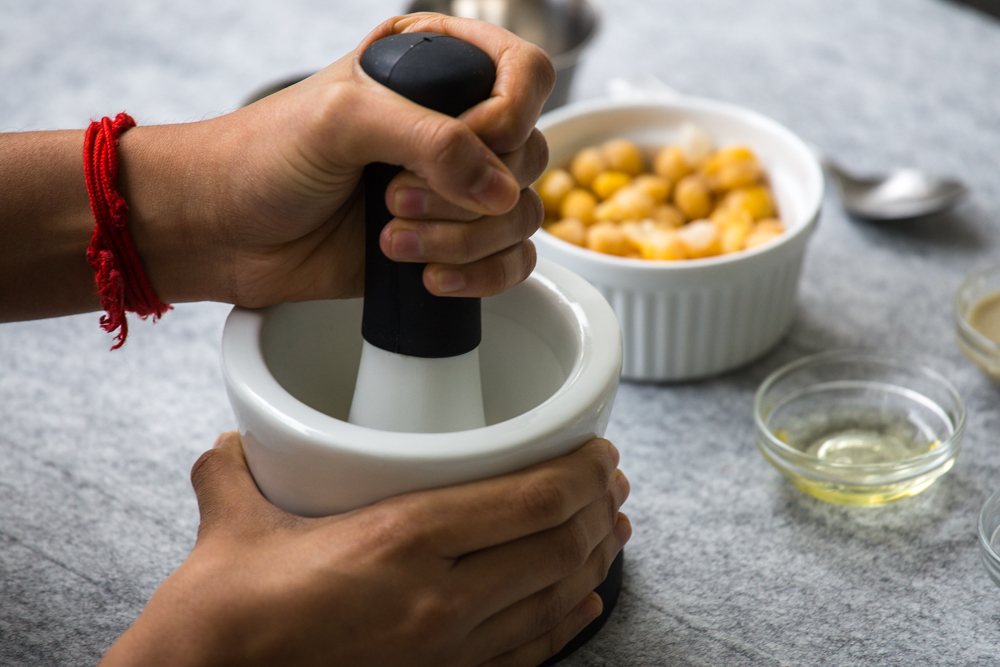
Show the child to count 5 spoons of the garbanzo beans into the mortar. Stop and show the child to mash them.

Let the child mash however they can. You can offer to hold the mortar and even take turns mashing them (if the child needs that help)
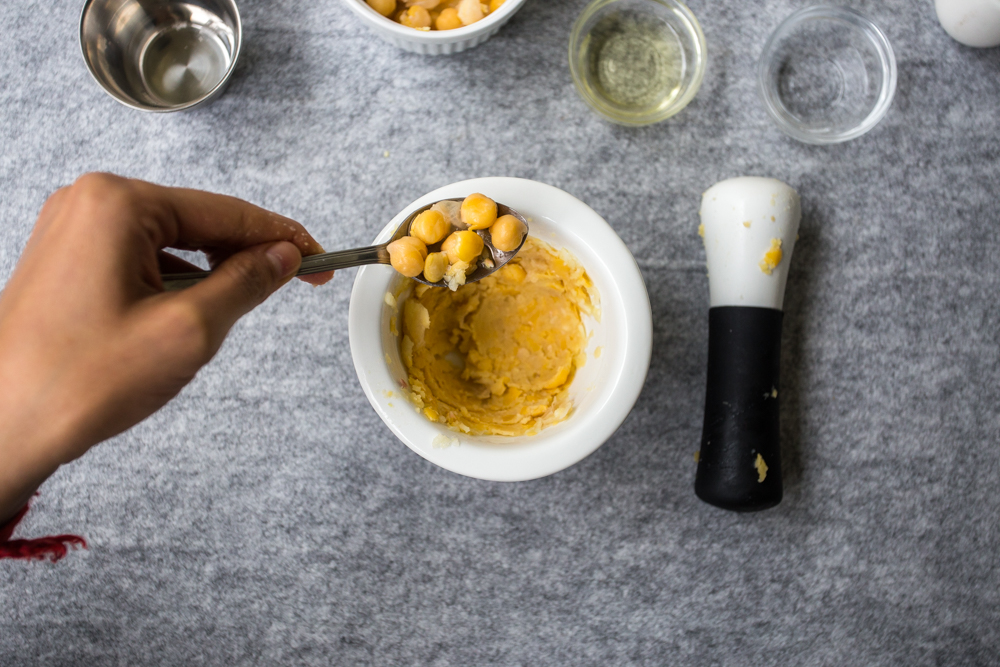
Spoon 5 more spoons of beans into the mortar and continue mashing together. Once they have been mashed well, encourage the child to taste a little bit of the hummus before adding more flavours.
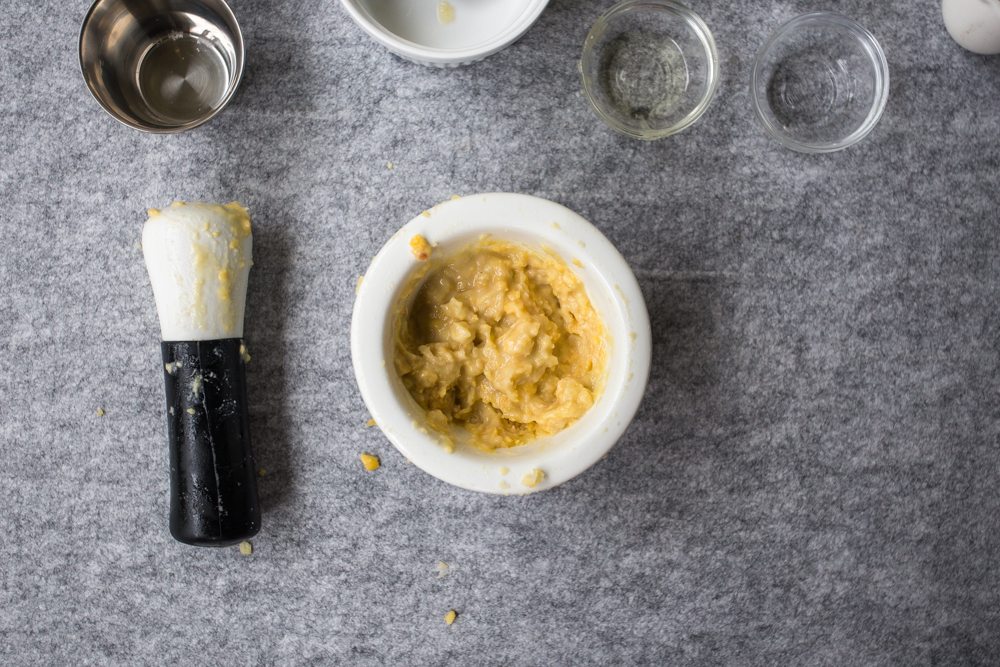
Show the child to transfer the lemon juice, the tahini and olive oil to the mashed beans. Mash again using the pestle.

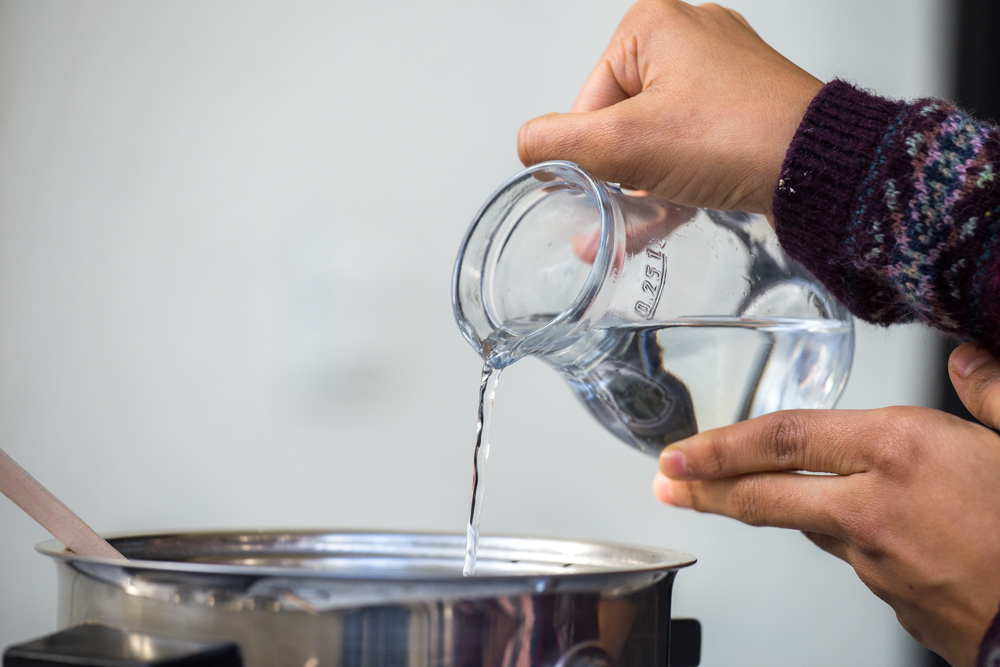
If it looks dry, show the child to fetch water in the small pitcher and add it to the hummus. Mash again using the pestle until you and child are satisfied with the desired consistency. Involve the child in putting the use items away or for wash.
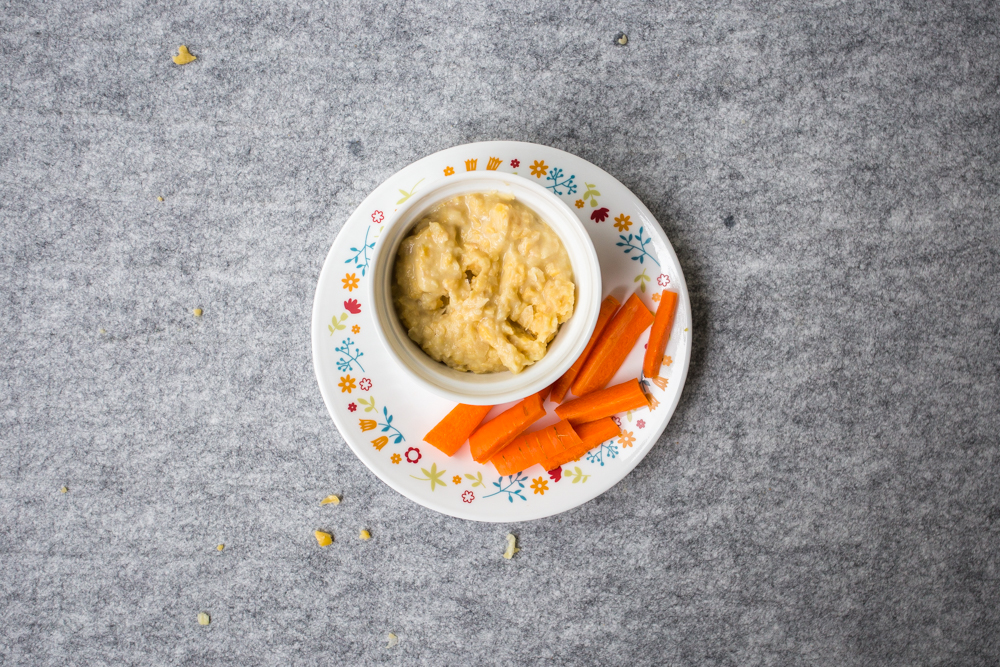
The child can have hummus as a perfect snack with cut cucumbers, carrots or celery or even bread or cracker.
Short Guide
I like to begin with an invitation, “Let me show you how to make some hummus today.”
Introduce everything at the table, else tell the child what is required and gather them together.
Encourage the child to explore the ingredients using their senses, taste a little garlic, a bit of the tahini and even some raw lemon juice to get to know the flavours that are going to enhance their hummus!
Show the child to transfer the minced garlic and salt into the mortar.
Exert pressure and show the child to crush them using the pestle. It is important to exaggerate this movement to draw attention to the pressure applied.
Show the child to count 5 spoons of the garbanzo beans into the mortar. Stop and show the child to mash them.
Let the child mash however they can. You can offer to hold the mortar and even take turns mashing them (if the child needs that help)
Draw attention to how the beans are getting mashed and soft.
Spoon 5 more spoons of beans into the mortar and continue mashing together.
Once they have been mashed well, encourage the child to taste a little bit of the hummus before adding more flavours.
Show the child to transfer the lemon juice, the tahini and olive oil to the mashed beans.
Mash again using the pestle.
If it looks dry, show the child to fetch water in the small pitcher and add it to the hummus.
Mash again using the pestle until you and child are satisfied with the desired consistency.
Involve the child in putting the use items away or for wash.
The child can have hummus as a perfect snack with cut cucumbers, carrots or celery or even bread or cracker.